
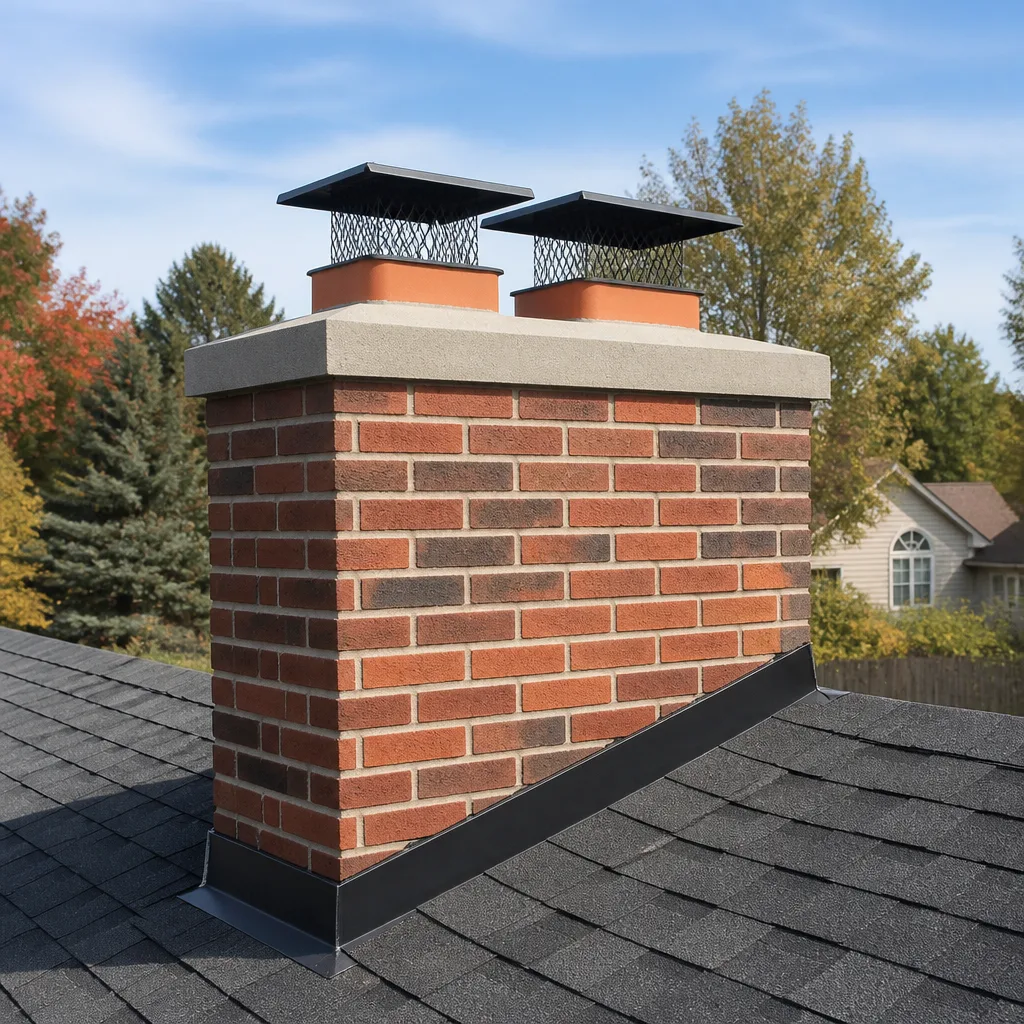
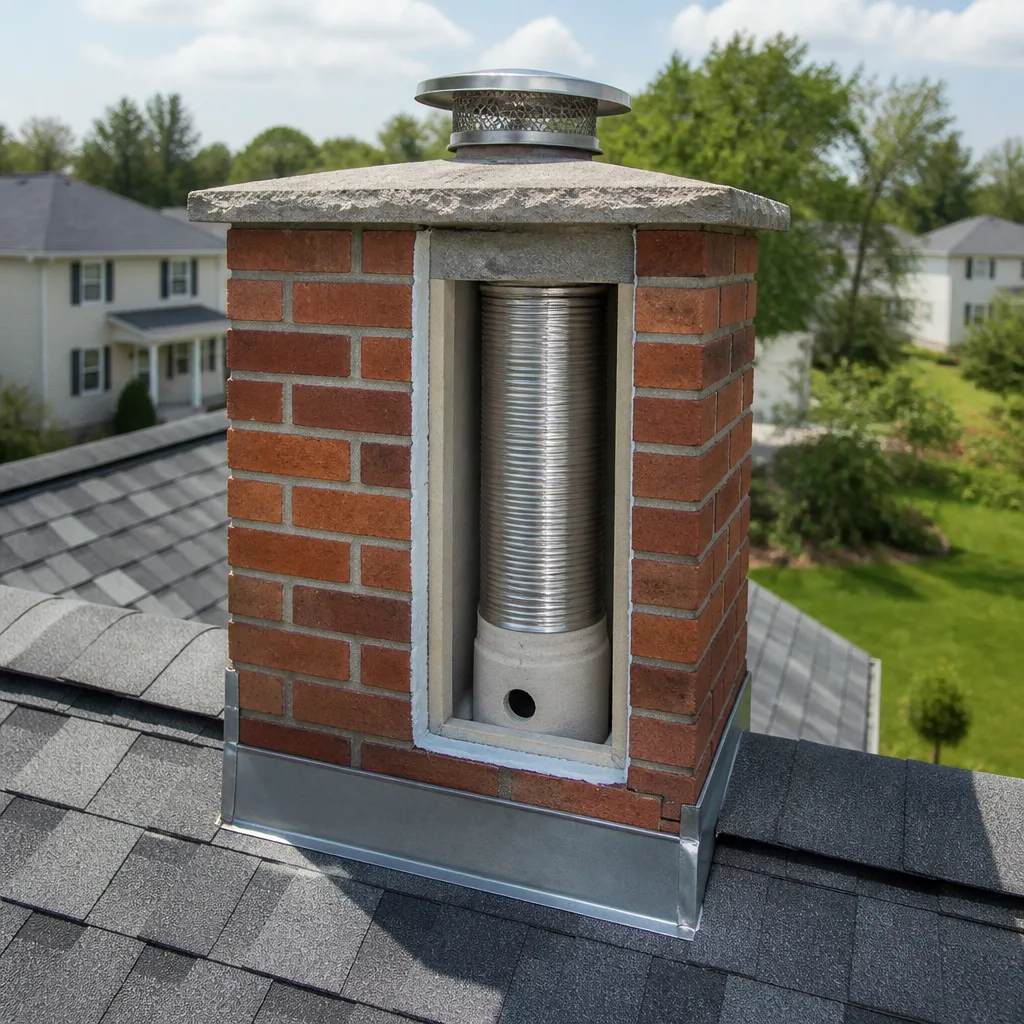
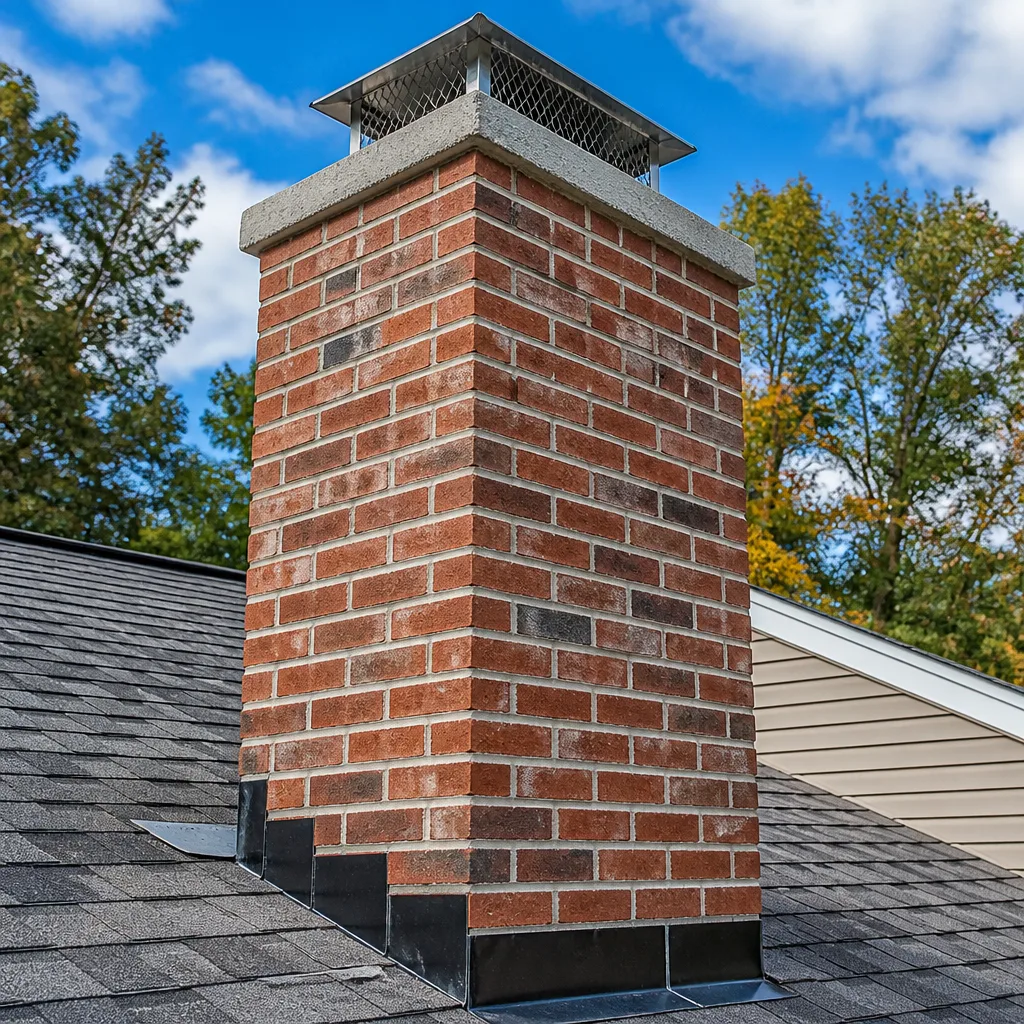
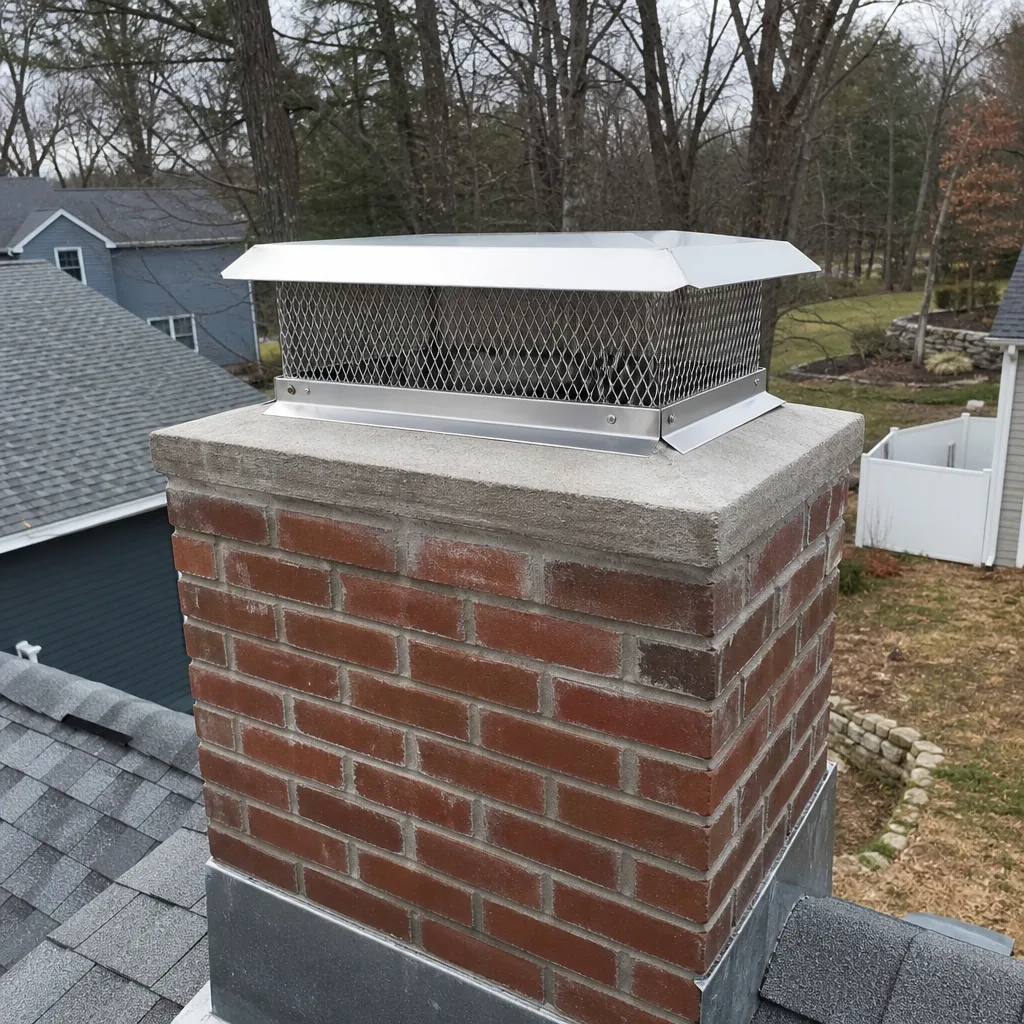
Level 1 sweep and inspection to the NFPA 211 annual standard - flue, crown, cap, and flashing checked and photographed
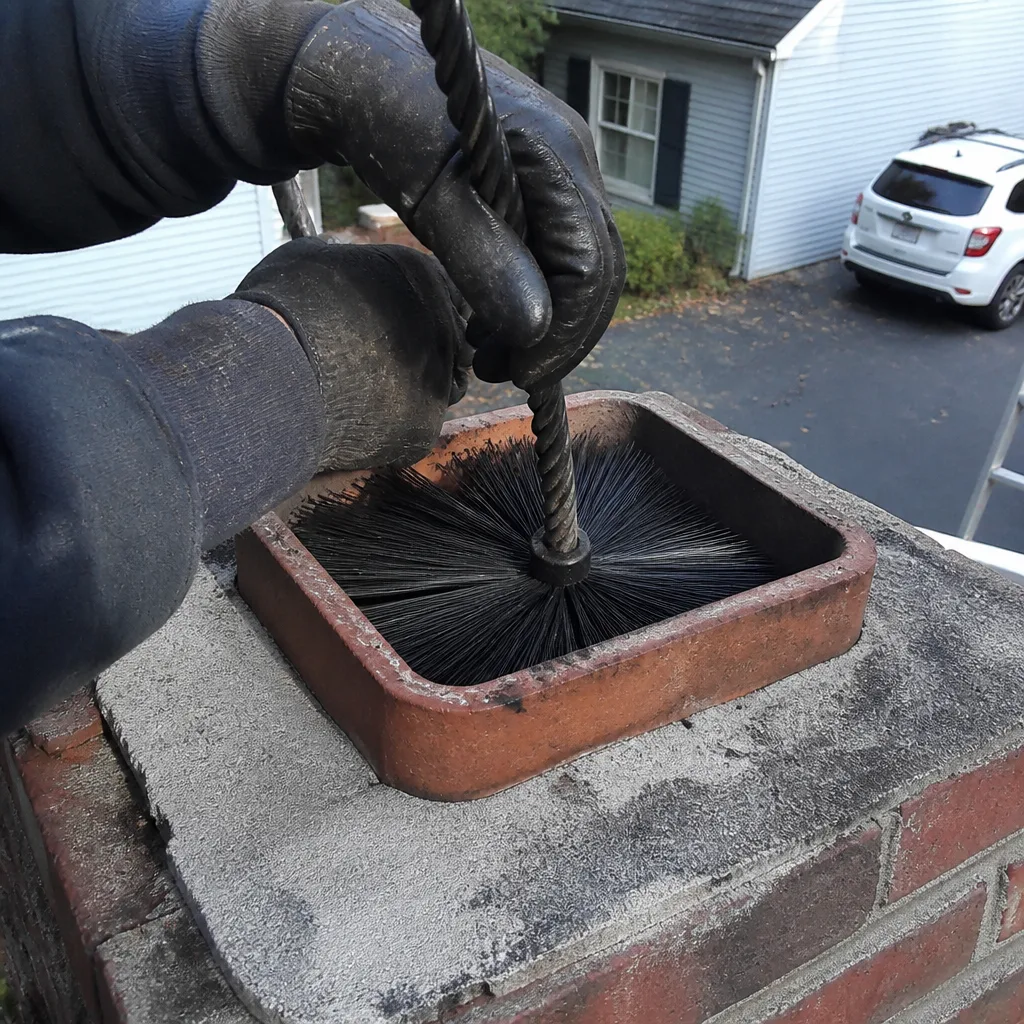
Chimney sweep logs do not sweep chimneys. They loosen some creosote - which then falls where a brush and vacuum still have to collect it.
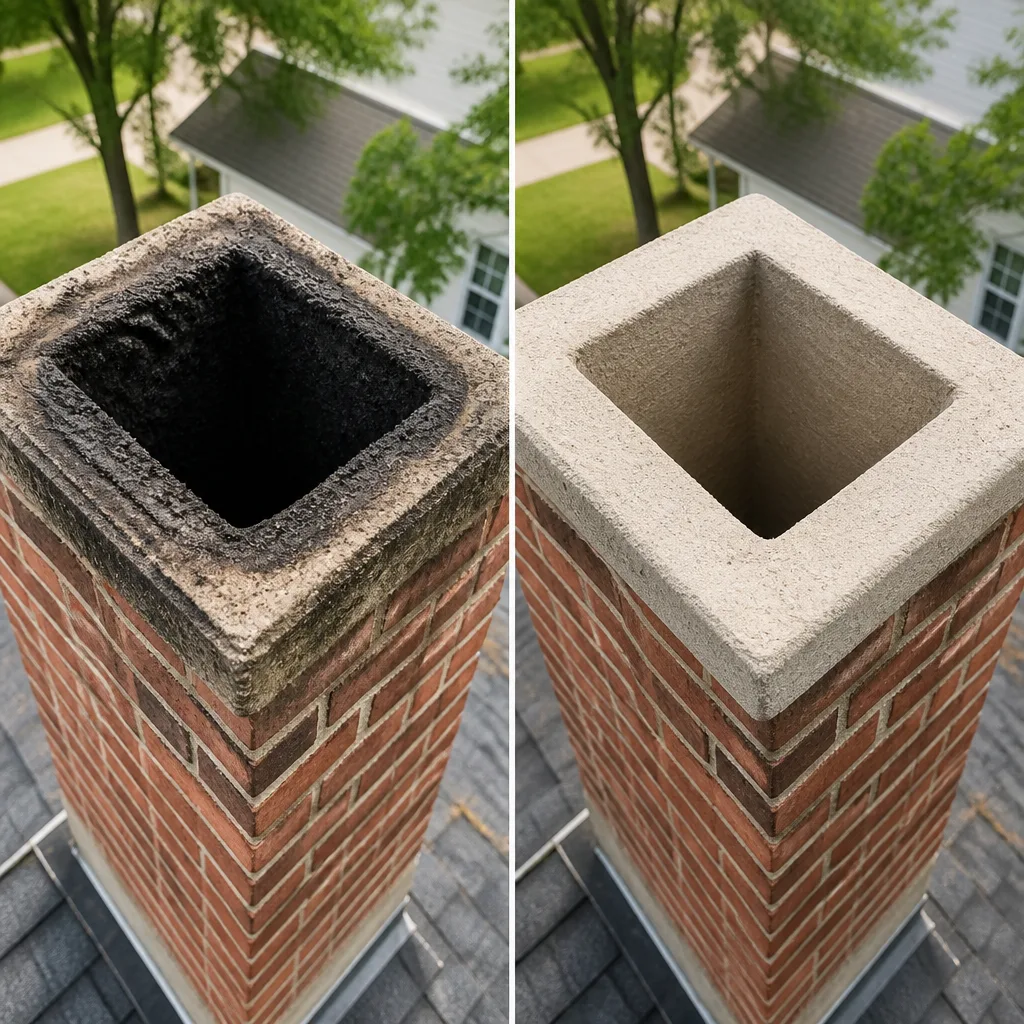
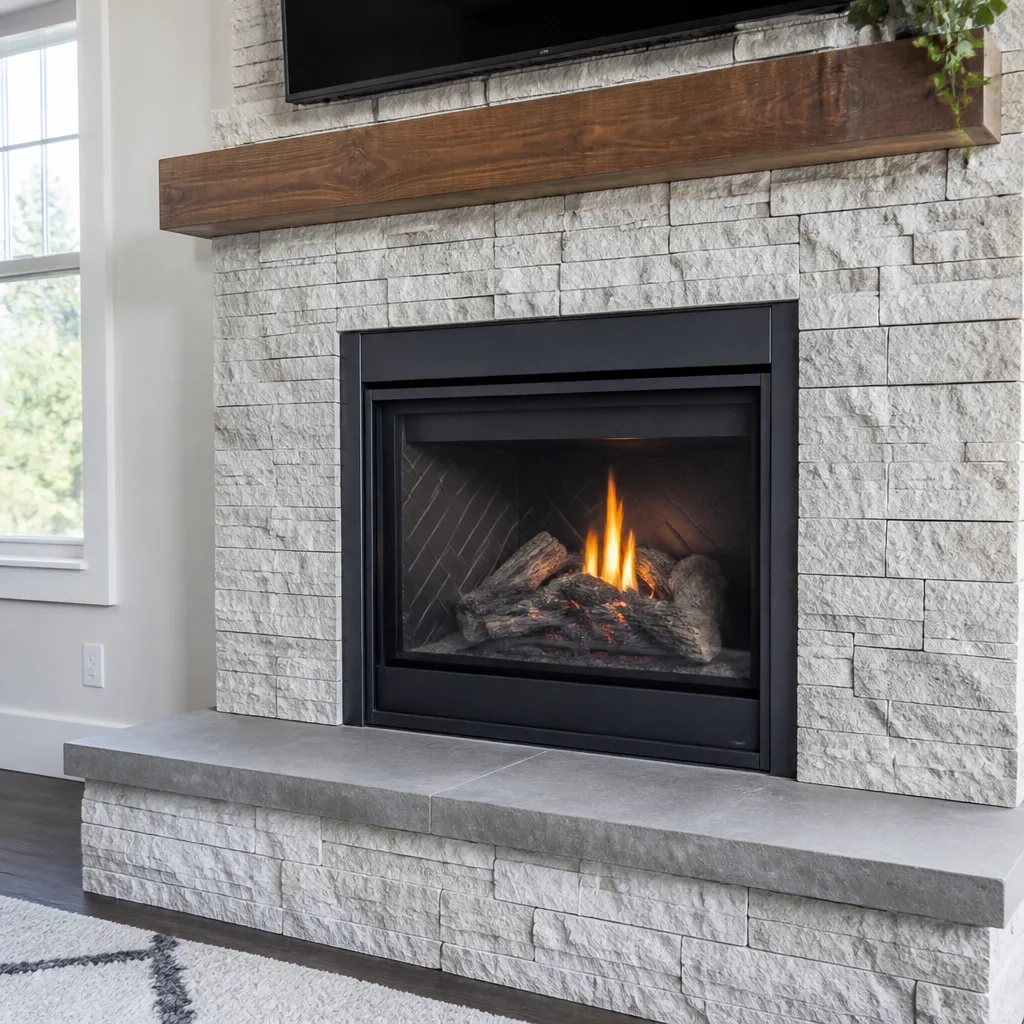
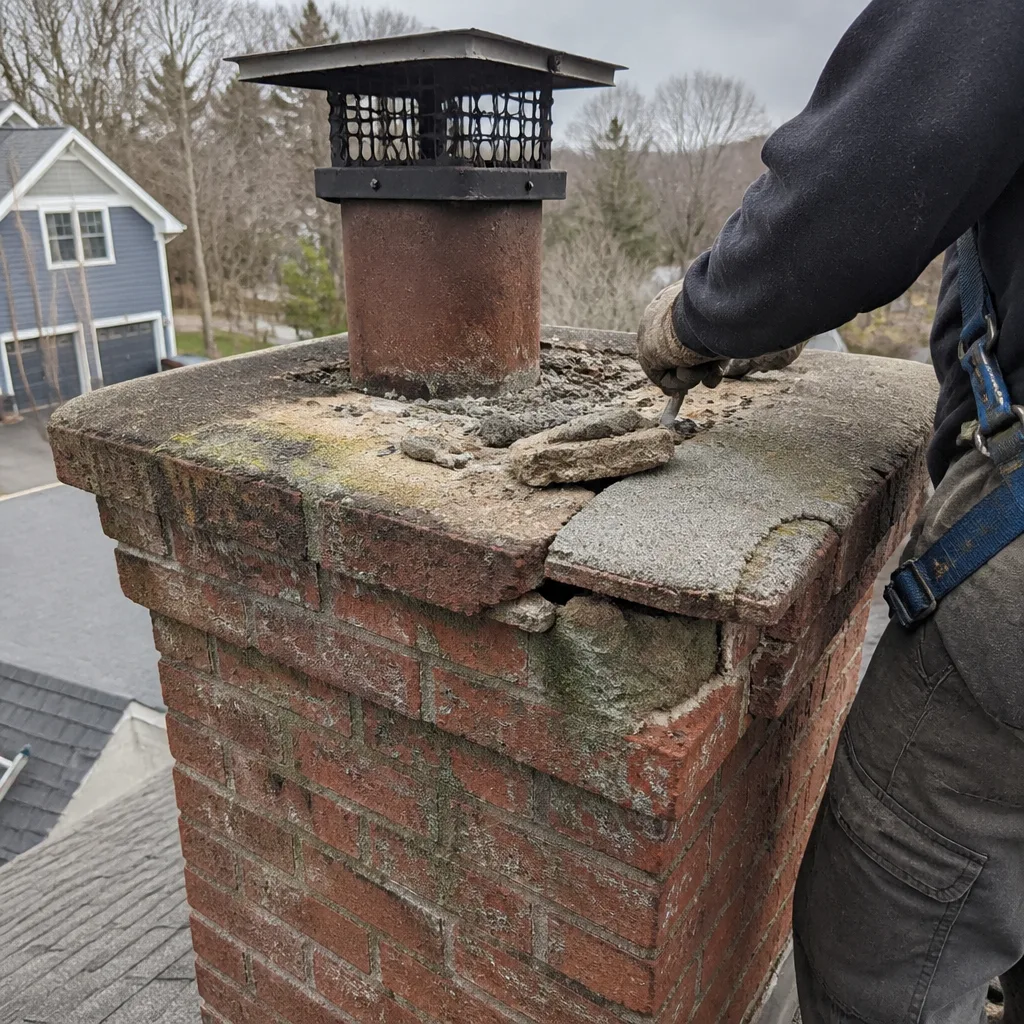 Before
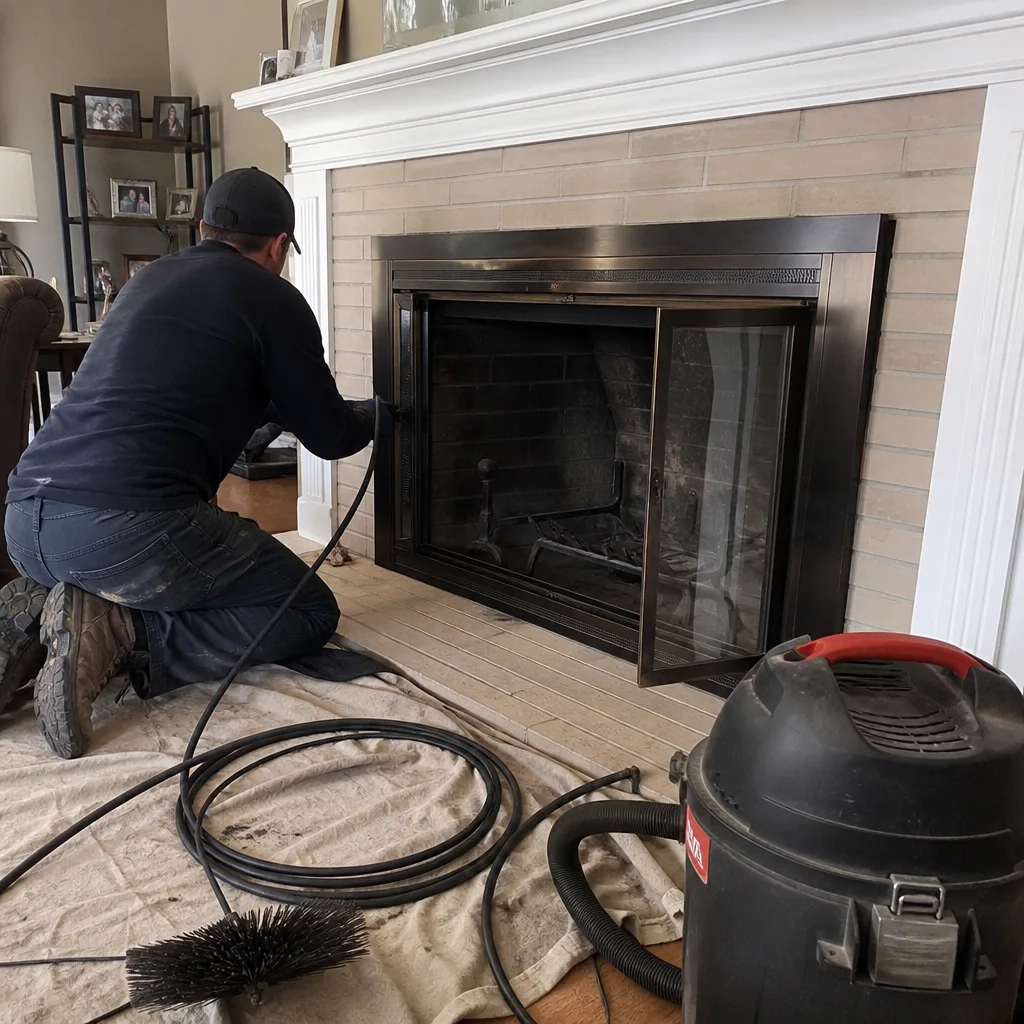 After
After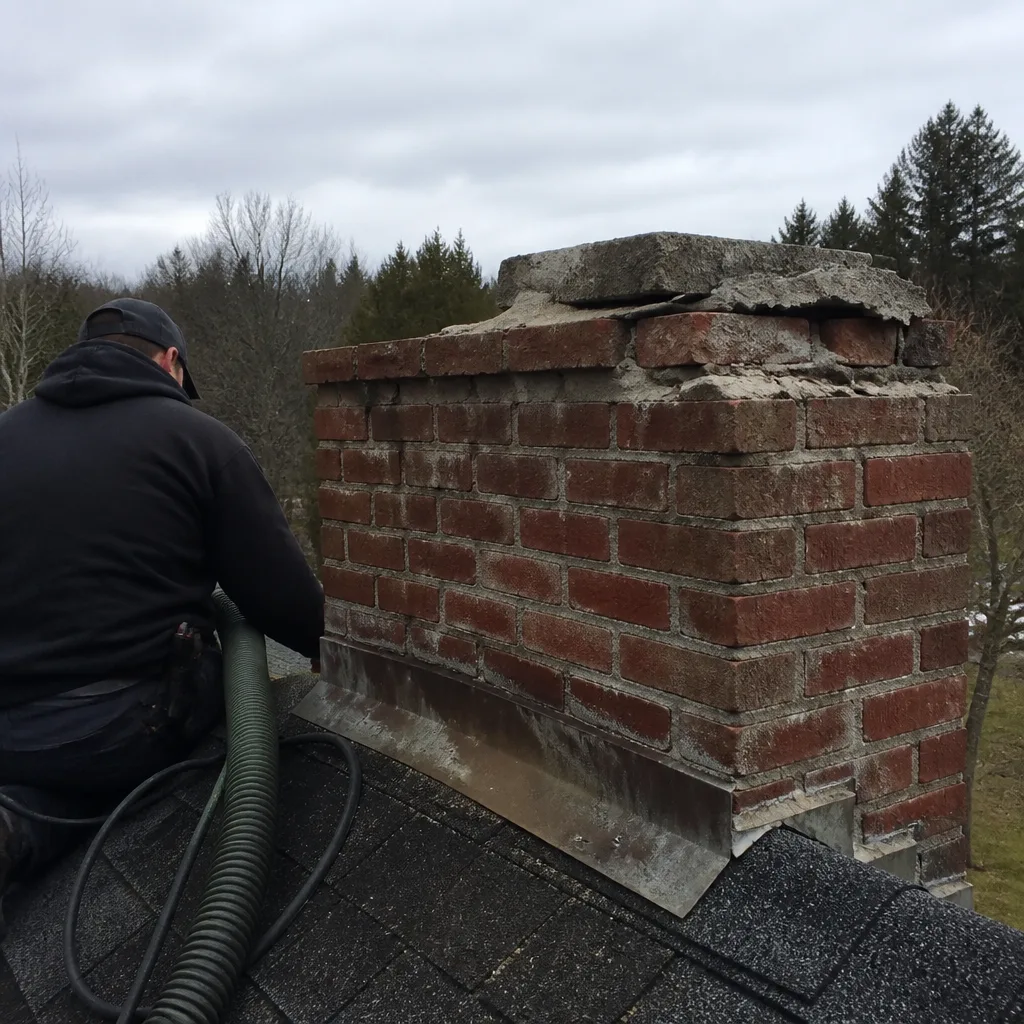 Before
 After
After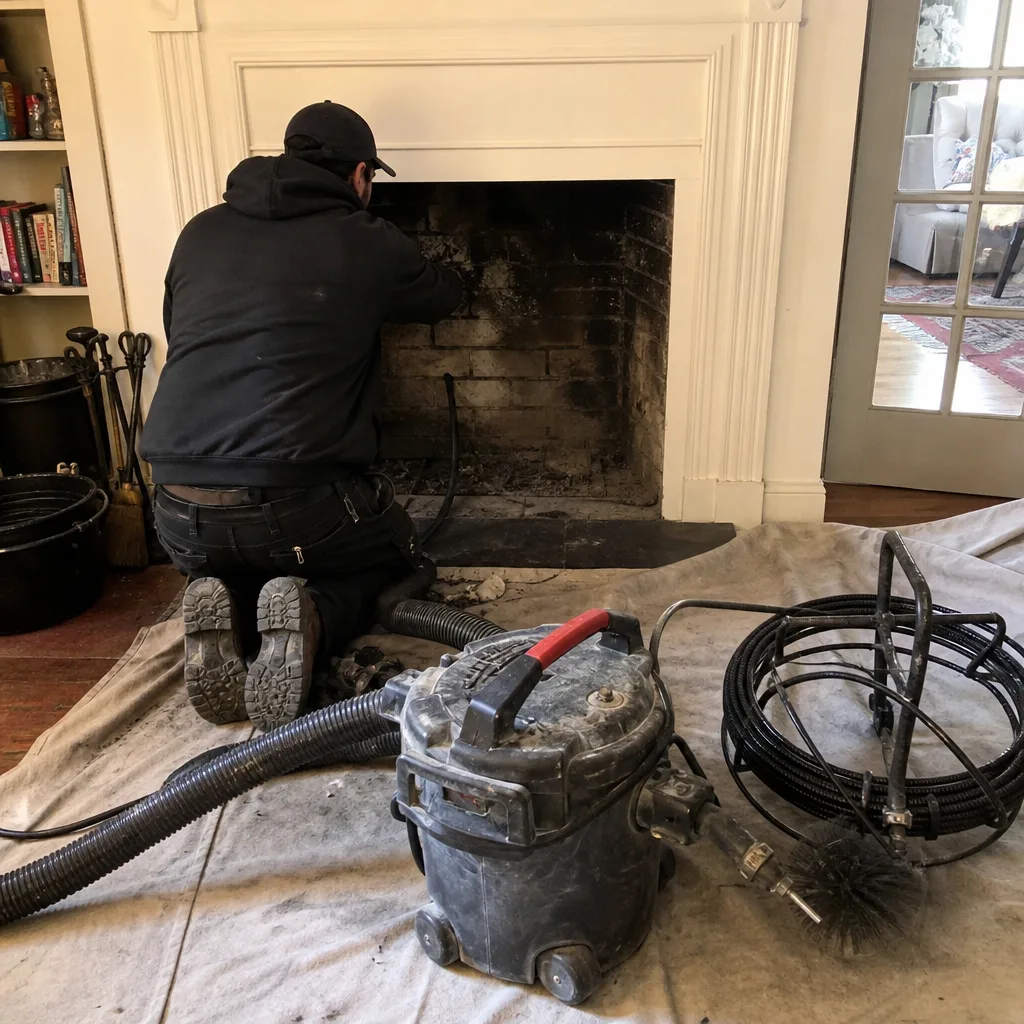 Before
 After
AfterGelco Damper Repair: The Wakefield Owner’s Guide
Gelco damper repair in Wakefield typically runs $280-$520 installed, depending on whether we’re replacing the plate, the frame, or the full assembly. We stock Gelco-compatible dampers and hardware on our Wakefield trucks, and most replacements are completed in a single visit. You’ll get a written price before we start, camera documentation of the flue condition, and a 365-Day Done Right Promise on the work.
Most Wakefield homeowners realize their Gelco damper has failed on the first cold night of fall, when they open the fireplace and find the plate won’t budge, or it drops open and won’t seal. Others notice a persistent draft even with the damper “closed,” or they spot rust flakes on the firebox floor after a humid Massachusetts summer. Here’s how to tell what you’re dealing with, what it’ll cost to fix, and whether it can wait until next season.
Which Gelco Models This Applies To
Gelco built two main damper lines you’re likely to find in Wakefield homes: the traditional cast-iron throat dampers (model prefixes L, M, and XL, indicating throat width in inches) and the lighter galvanized top-sealing dampers introduced in the 1990s. The cast-iron units are stamped with a part number on the frame’s left side, visible from the firebox with a flashlight. Top-sealing models carry a riveted tag on the external cap assembly.
The critical compatibility gotcha: Gelco’s L-series (13-inch throat) and M-series (17-inch throat) use different pivot pin diameters, and the hardware is not interchangeable. We’ve found mismatched pins on at least a dozen Wakefield jobs where a previous owner or handyman forced the wrong part. The pivot pin on an L-series measures 3/8 inch; the M-series takes 1/2 inch. Using the wrong pin wallows out the frame bracket in two seasons of heating.
We source Gelco OEM parts through Haven’s buying network, but we also carry quality aftermarket equivalents from Olympia Chimney for out-of-production models. The aftermarket frames match Gelco’s throat dimensions exactly, though the handle geometry differs slightly. We note the substitution on your written scope so there’s no confusion at resale or insurance review. Level Two Chimney Wakefield is an independent service provider, not affiliated with Gelco.
Signs Your Gelco Damper Repair Is Failing
- The handle turns but the plate doesn’t move. The linkage between the handle spindle and the plate has corroded through, or the cotter pin has sheared. This is the most common Gelco failure we see in Wakefield’s older colonials near Lake Quannapowitt, where summer humidity settles into the flue and accelerates rust on the steel linkage.
- The plate is stuck open and won’t drop. Creosote has cemented the plate to the frame, or the frame itself has warped from a chimney fire the owner didn’t know happened. We check for frame distortion with a feeler gauge; anything over 1/8 inch out of flat means frame replacement, not just a new plate.
- You feel a cold draft with the damper “closed.” The plate has cracked, rusted through at the edge, or the seal gasket has hardened and shrunk. Gelco’s original felt gaskets last roughly 12-15 years in Massachusetts’ freeze-thaw cycle; we’ve found them crumbling at 8 years in homes with no chimney cap.
- Water stains on the firebox floor after rain. The damper plate is no longer seating squarely, or the frame seal has failed. In Wakefield’s heavy spring rains, a misaligned plate channels water directly onto the firebox floor instead of shedding it to the smoke chamber walls.
- Rust flakes or orange staining on the hearth. The galvanized coating on a newer Gelco top-sealing damper has been compromised, usually by animal urine or acidic condensation. Once the coating is breached, the underlying steel deteriorates rapidly. We document this with the camera before recommending replacement.
 Before
 After
AfterReplacement Cost & What’s Included
| Service | Price Range (Wakefield) | What’s Included |
|---|---|---|
| Gelco damper plate replacement (L or M series) | $280-$360 | OEM or aftermarket plate, new cotter pins, handle lubrication, written warranty |
| Full damper assembly replacement (cast iron) | $380-$480 | Frame, plate, hardware, smoke chamber seal inspection, photo record |
| Top-sealing damper replacement (external cap) | $420-$520 | Cap assembly, cable and handle, flue-top seal, counterbalance adjustment |
| NFPA 211 Level 2 inspection add-on (if no recent scan) | $189 | Camera scan of full flue, written condition report, documented photo record per Haven Standard Clause 4 |
What drives the range: accessibility of the damper from the firebox, whether the smoke chamber needs refractory repair to seat the new frame squarely, and whether we find degraded flue liner above the damper that should be addressed at the same time. We don’t upsell liner work without camera evidence you can see on the screen. Here’s what the camera found. Here’s what it costs to fix it. Everything else can wait.
Every Gelco damper replacement carries our 365-Day Done Right Promise and a written warranty on parts and labor. Clause 1 of the Haven Standard requires the written price before any work starts; Clause 4 requires the documented photo record on completion. You’ll have both in hand before we pack up.
DIY or Call Us?
There’s exactly one safe homeowner check: open the damper fully, shine a flashlight up, and look for obvious rust holes, cracks across the plate, or a handle that spins freely without resistance. If you see any of these, stop. The rest of the diagnosis requires a camera in the flue and hands in the firebox with the right tools.
What goes wrong with DIY Gelco repair: homeowners try to force a seized plate with a pry bar and crack the smoke chamber wall, or they install a universal replacement plate that doesn’t match the throat width and leaves a 3/4-inch gap on one side. The pivot pin on a cast-iron Gelco is under spring tension; if you release it without supporting the plate, a 12-pound slab of cast iron drops onto your wrist or the firebox floor. We’ve been called after both.
We carry Gelco-compatible plates, frames, and hardware on our Wakefield trucks. Call (978) 861-1012 for a written estimate. Estimates are free, and we offer a Free Second Opinion on any competitor’s written quote.
FAQs
A cast-iron Gelco throat damper typically lasts 20-30 years in Massachusetts if the chimney has a cap and the flue is swept regularly. Without a cap, we’ve seen them fail at 8-12 years from moisture damage. Top-sealing Gelco caps last 15-20 years with proper installation. Call (978) 861-1012 if you’re unsure of your damper’s age or condition.
Sometimes. A seized linkage can be cleaned and re-pinned if the frame isn’t warped and the plate isn’t cracked. We make that call after the camera inspection, not before. If the frame is distorted or the plate has rust holes, replacement is the only repair that seals properly. We show you the camera footage and explain which category you’re in before quoting either option.
Most replacements take 90 minutes to two hours from ladder set-up to final test burn. A straightforward plate swap on an accessible L-series runs closer to an hour. Full assembly replacements in a deep smoke chamber, or jobs where we find adjacent liner damage, can stretch to three hours. We quote the time estimate in writing along with the price.
We stock Gelco-compatible plates, frames, pivot hardware, and top-sealing cap assemblies on our Wakefield trucks. For obsolete Gelco models, we source matching aftermarket parts through Haven’s buying network, usually within 48 hours. You don’t order anything; we handle procurement, warranty, and fit verification. Call (978) 861-1012 to confirm same-week availability for your model.
Written by Corrine Halstead, Owner, Level Two Chimney Wakefield at Level Two Chimney Wakefield, serving Wakefield and nearby areas.