
Last updated September 22, 2026
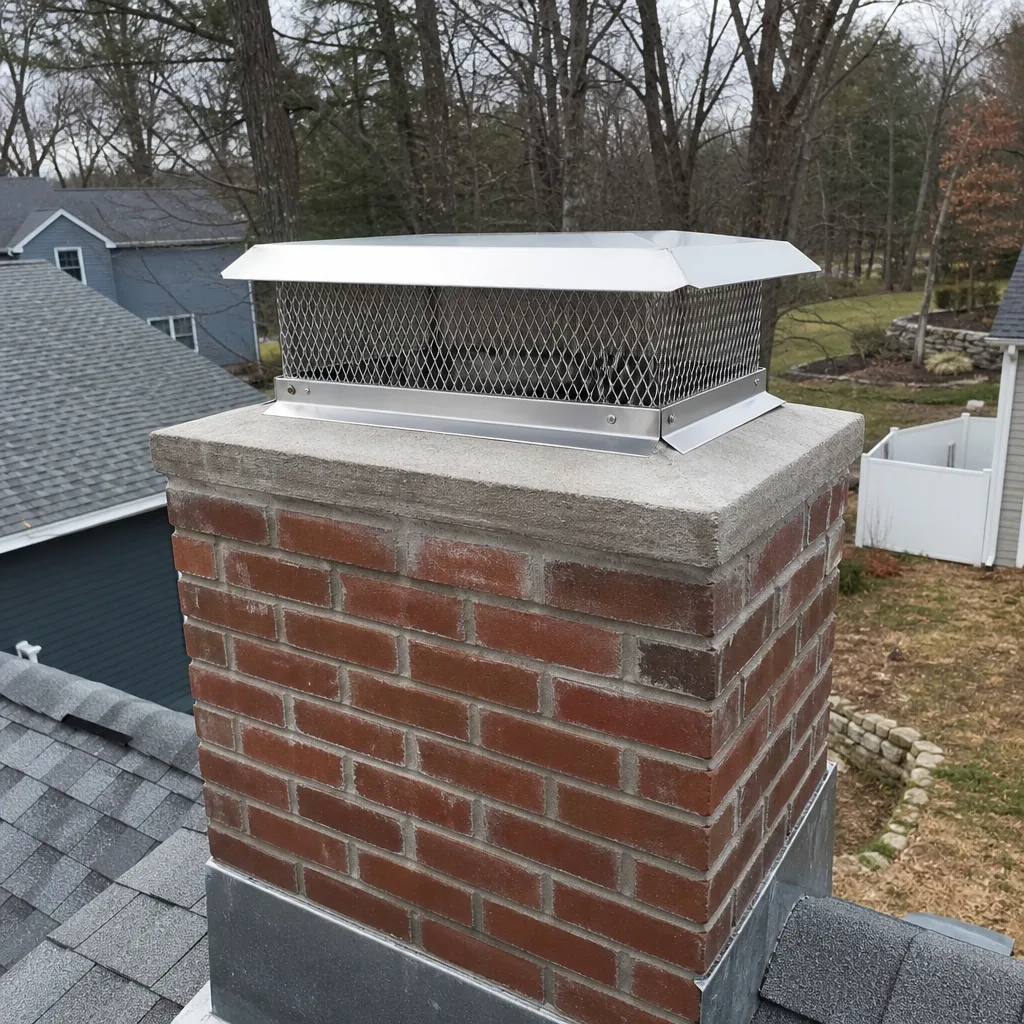
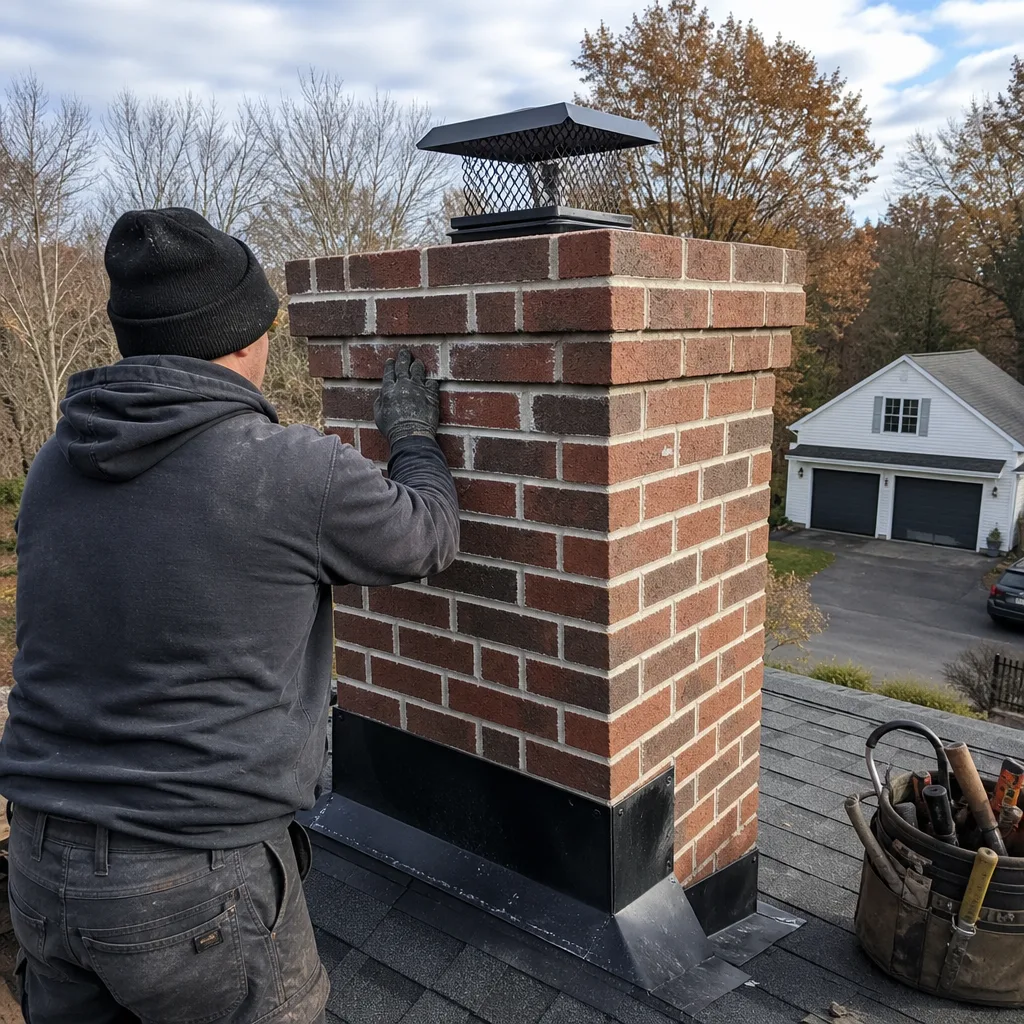
Level 1 sweep and inspection to the NFPA 211 annual standard - flue, crown, cap, and flashing checked and photographed
Chimney sweep logs do not sweep chimneys. They loosen some creosote - which then falls where a brush and vacuum still have to collect it.
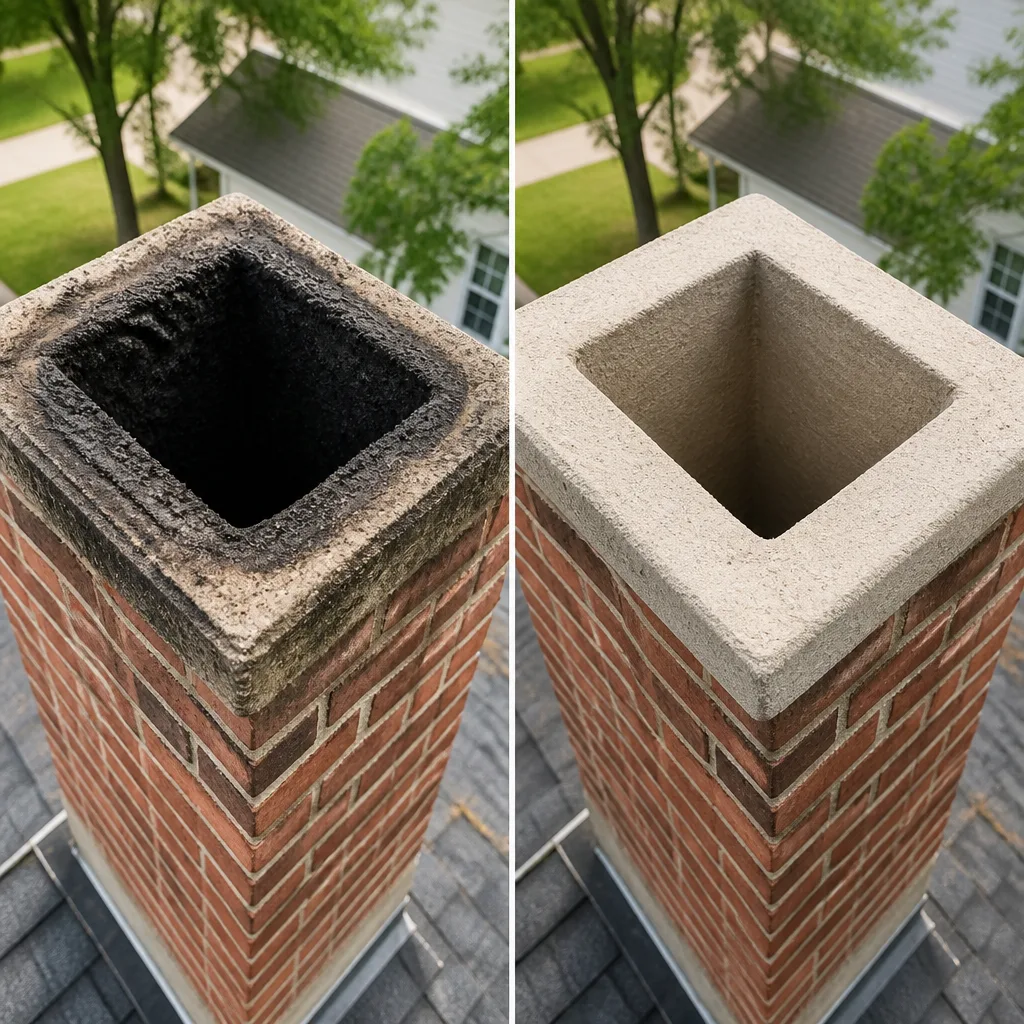
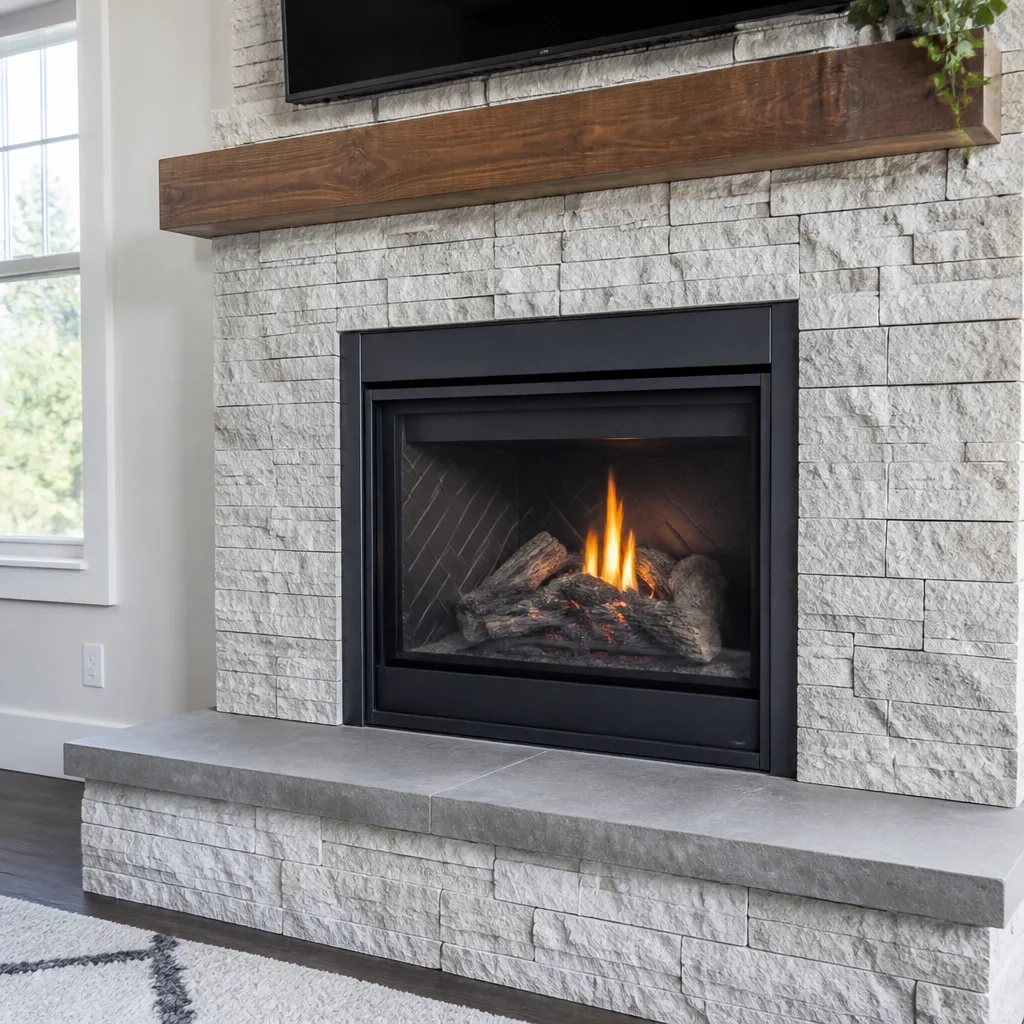
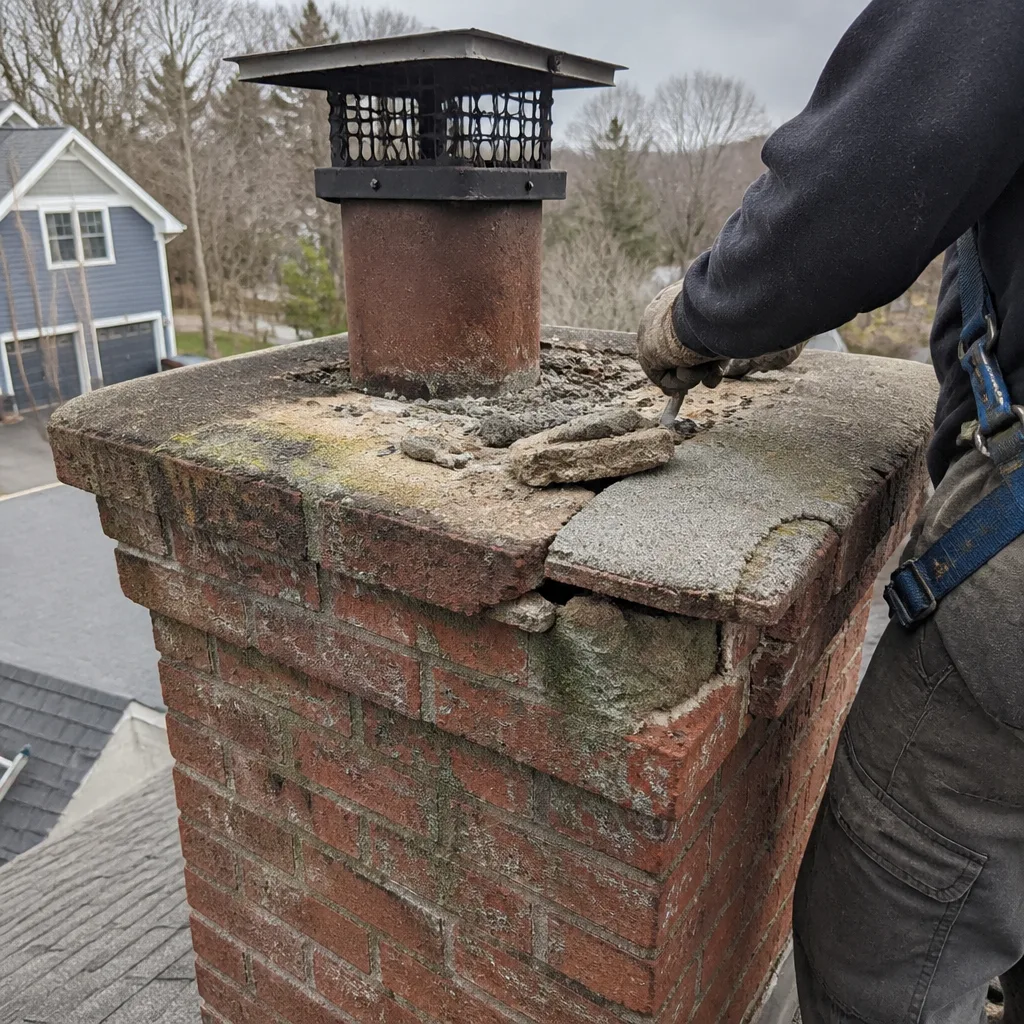 Before
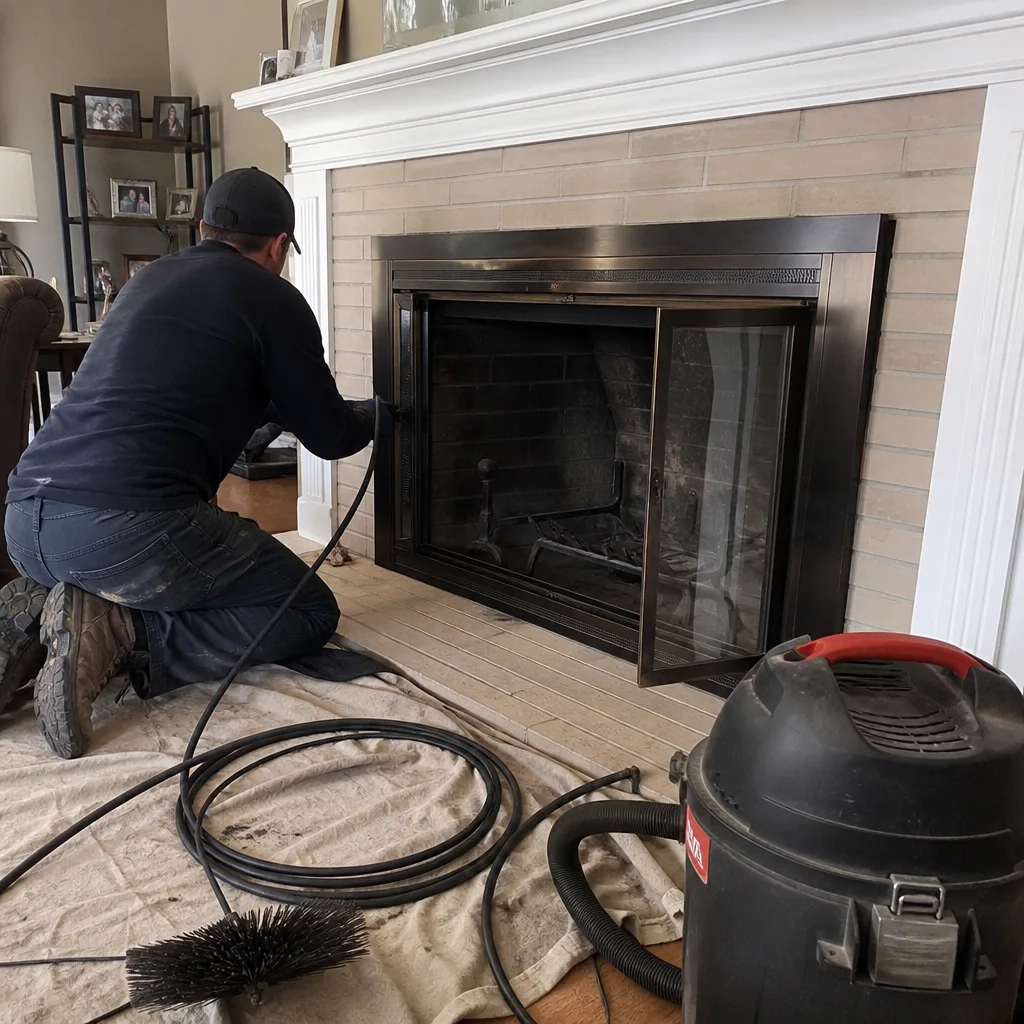 After
After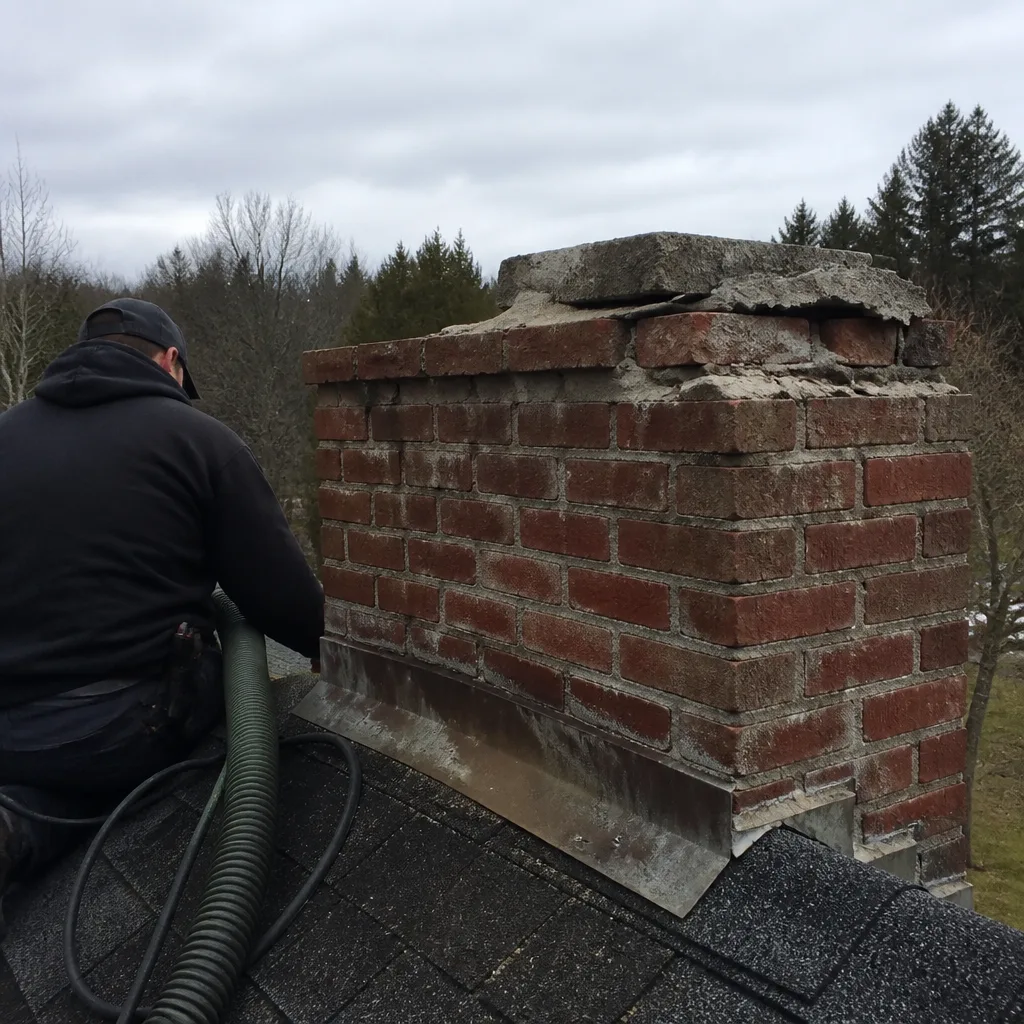 Before
 After
After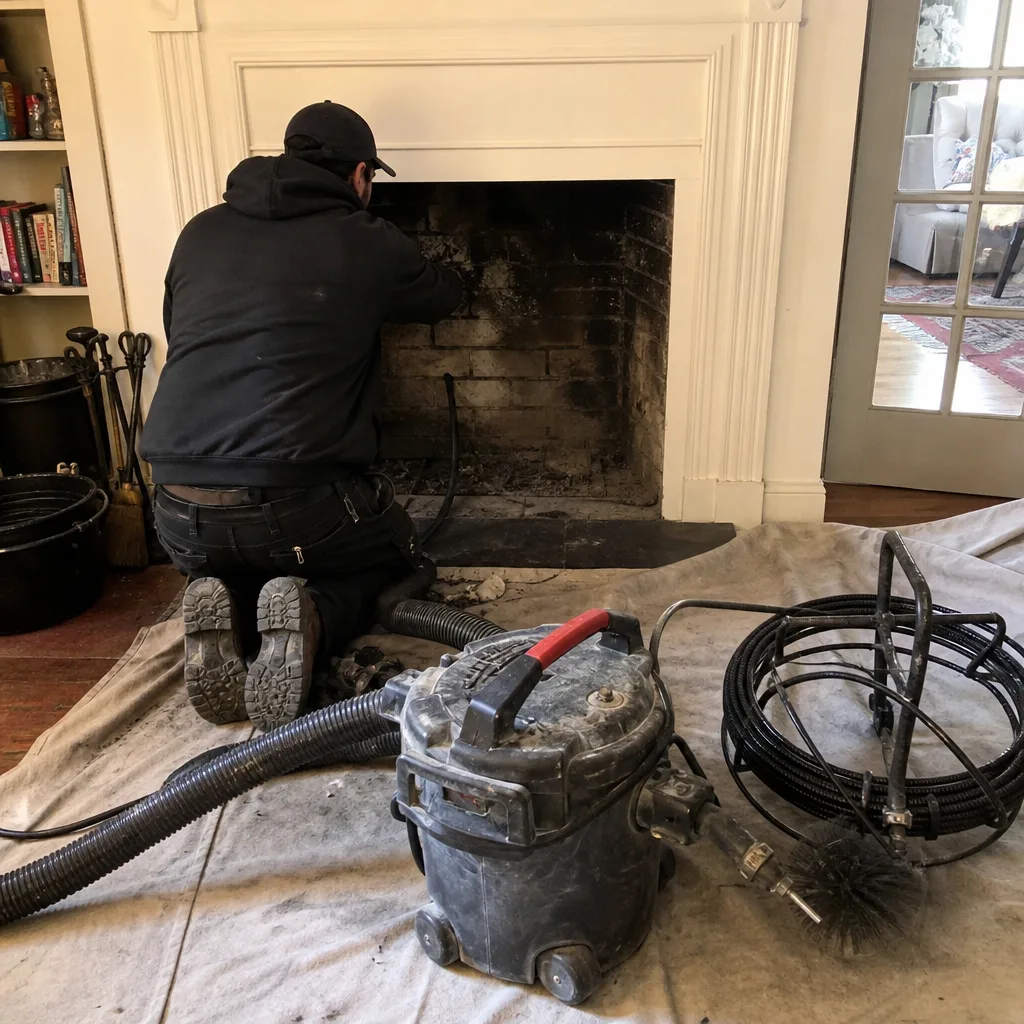 Before
 After
AfterChimney Cleaning & Sweep Maintenance Checklist for Wakefield Homeowners
The two minutes it takes to look at your firebox after the first fall fire can tell you more than the previous owner’s entire service history - if you know what you’re looking at. Most Wakefield homes built between 1900 and 1985 have masonry chimneys that were never lined for modern gas appliances, and the ones converted to wood-burning inserts often have hidden smoke chamber damage that only shows up once creosote starts baking onto the walls. We’ve completed more than 38,000 chimney inspections since 2009, and the calls that come in November with smoke backing up into the living room almost always trace back to something the homeowner could have spotted in October. This guide gives you the 12-point owner-observable checklist we wish every Wakefield homeowner ran before lighting the first fire.
Quick Answer
Wakefield homeowners should inspect their chimney system twice yearly - before the first fire in October and after the last fire in April - using a 12-point checklist covering the firebox, damper, smoke chamber, exterior crown, cap, and flue opening. Three conditions require immediate professional attention regardless of schedule: glazed (stage-two) creosote buildup, spalling or missing mortar at the crown, and a damper that won’t fully open or close. Everything else can be logged for your next Chimney Cleaning & Sweep services appointment.
Table of Contents
- Why a Checklist Matters More Than “Annual Service” in Wakefield
- The 12-Point Owner-Observable Checklist
- The Three Conditions That Can’t Wait
- How to Check the Smoke Shelf With a Flashlight and Mirror
- What Belongs on Your Checklist vs. What Needs a Camera Scan
- Wakefield’s Heating Calendar: When to Check and Why
- Common Mistakes to Avoid
- When to Call a Professional
- Frequently Asked Questions
- The Bottom Line
 Before
 After
AfterWhy a Checklist Matters More Than “Annual Service” in Wakefield
“Get it swept once a year” is the advice every homeowner hears, and it’s technically correct per NFPA 211. But it’s also incomplete. A sweep appointment in September tells you nothing about what happened in January when a windstorm dropped a branch on your cap, or what the freeze-thaw cycles of a Wakefield February did to your crown mortar.
Wakefield sits in Essex County’s mixed climate zone, which means our chimneys endure something worse than sustained cold: repeated freeze-thaw cycling. Water enters hairline cracks in October, expands when temperatures drop below 32°F in November, and by March has opened those cracks to pencil-width gaps. The homeowner who only looks at their chimney in September misses six months of incremental damage.
We’ve documented this pattern across thousands of Wakefield-area inspections. Homes near Lake Quannapowitt - where wind-driven rain hits harder - show accelerated crown deterioration. Properties in the Greenwood and Montrose neighborhoods, many with original 1920s brickwork, develop spalling (surface flaking of the brick face) at rates that surprise newer residents. The checklist below is designed to catch these conditions in their early, owner-visible stage - before they require a full rebuild.
The other reason a checklist matters: it creates a paper trail. When you sell your Wakefield home, buyers and their inspectors will ask for service records. A dated, handwritten log of your twice-yearly checks - even the ones where you found nothing wrong - demonstrates due diligence that protects your negotiating position. Under Clause 4 of the Haven Standard, we provide a documented photo record on every professional visit we perform. Your owner checklist is the complement to that record.
Finally, the checklist saves you from the most expensive mistake in chimney maintenance: emergency service calls. A stuck damper discovered in October gets scheduled at standard rates. A stuck damper discovered when smoke fills your living room on Thanksgiving evening costs more, stresses your family, and may require opening walls if the problem is deeper in the smoke chamber. The twelve points below take roughly twenty minutes total. That’s the investment.
The 12-Point Owner-Observable Checklist
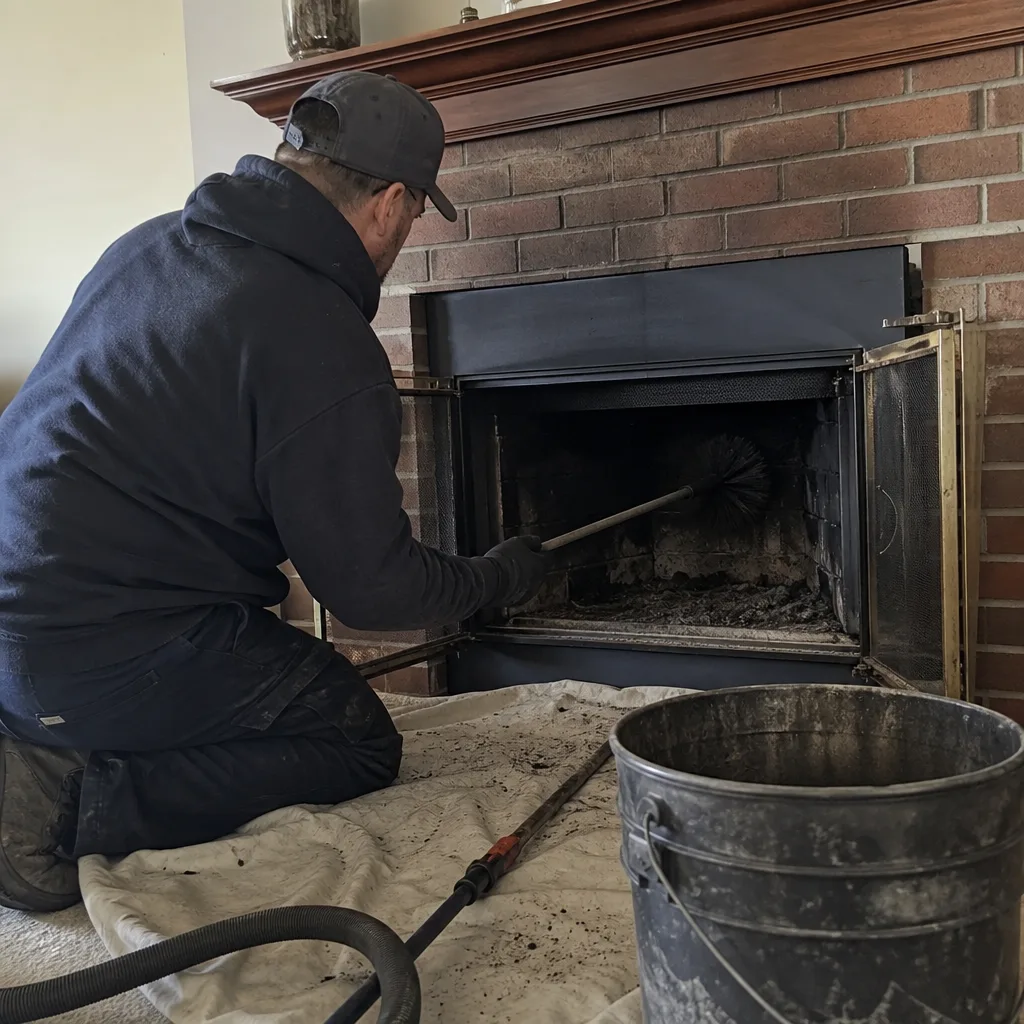
Run this checklist in October before your first fire and in April after your last. Each item has a clear pass/fail criterion. If any item fails, photograph it, note the date, and use that documentation when you call for service.
Firebox (Interior Hearth)
- Check firebrick condition. Look for cracks wider than 1/8 inch, missing chunks, or bricks that have shifted out of plane. Pass: all bricks intact, mortar joints present. Fail: any gap that exposes the structural masonry behind the firebrick.
- Inspect the hearth extension. The non-combustible surface in front of the firebox must extend at least 16 inches in front and 8 inches to each side (NFPA 211 minimum). Pass: dimensions met, surface intact. Fail: cracked tile, insufficient depth, or combustible material within the required clearance.
- Look for creosote staining above the firebox opening. Black, tarry streaks on the exterior masonry face indicate smoke spillage, which means the flue is undersized, partially blocked, or the fire was smoldering. Pass: clean face. Fail: any black streaking that doesn’t wipe off with a dry finger.
Damper Assembly
- Operate the damper through full range. Open fully, close fully, repeat three times. Pass: smooth movement, full seal when closed, no grinding or catching. Fail: any resistance, incomplete closure, or visible rust flakes falling from the mechanism.
- Check damper position when “closed.” Hold a flashlight behind the closed damper and look for light leaks. Pass: complete light blockage. Fail: visible gaps, which mean heated air escapes all winter and creosote odors enter the house in summer.
Smoke Chamber and Throat
- Inspect the smoke chamber walls. Shine a flashlight up from the firebox. You’re looking for the sloping walls that funnel smoke from the firebox into the flue. Pass: smooth parged (mortared) surface, no exposed brick or mortar loss. Fail: corbelled brick visible, significant mortar gaps, or shiny black glaze (stage-two creosote).
- Check the smoke shelf for debris. See the separate section below for the flashlight-and-mirror technique. Pass: clear shelf or only fine ash. Fail: bird nests, construction debris, or substantial creosote flakes.
Exterior: Crown, Cap, and Flue Opening
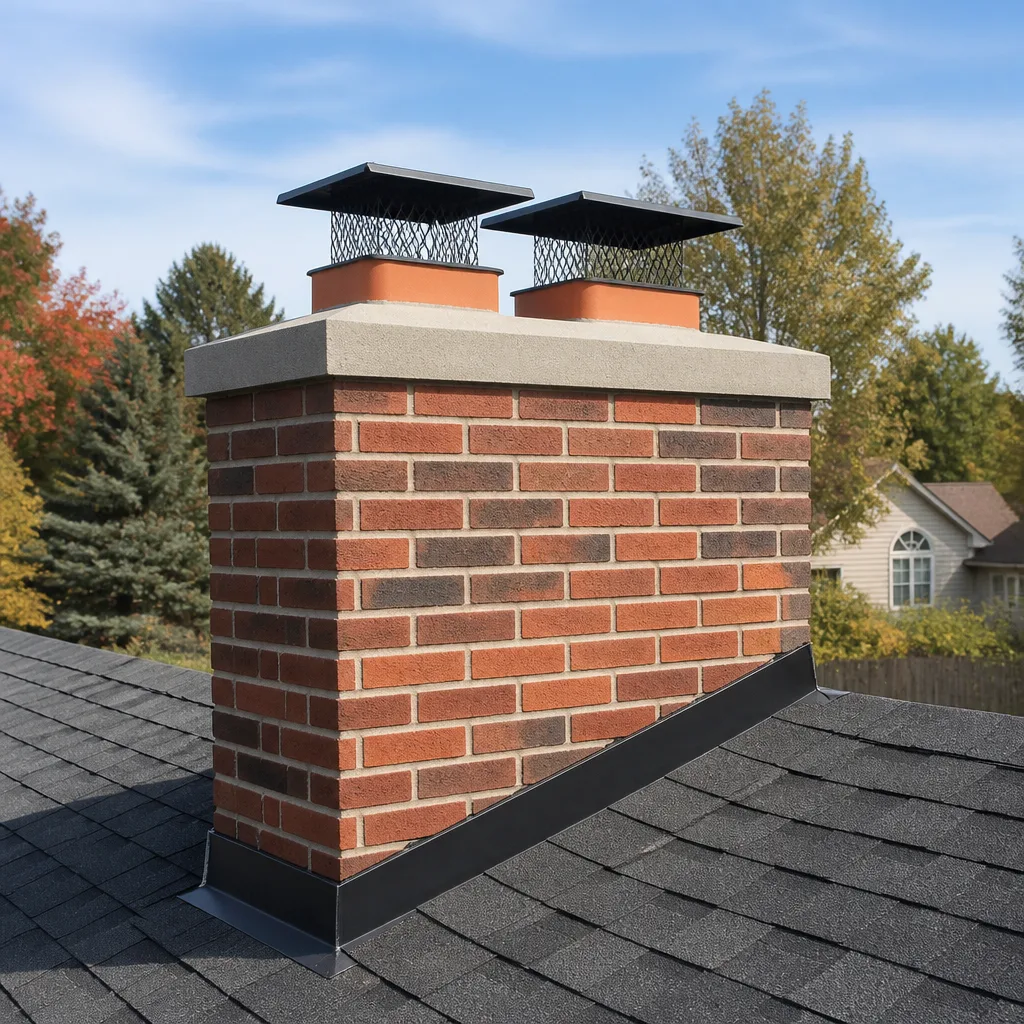
- Inspect the crown from ground level with binoculars. The crown is the concrete or mortar slab that tops the chimney, sloped to shed water. Pass: intact surface, no visible cracks, overhangs the brick by at least 2 inches. Fail: any crack you could slide a credit card into, pooling water, or missing chunks.
- Check the cap and screen. The cap covers the flue opening; the screen keeps animals out while letting smoke escape. Pass: securely attached, screen mesh intact (no gaps larger than 3/4 inch), no rust-through. Fail: missing screen, cap tilted or loose, or visible animal entry.
- Look for efflorescence on exterior brick. White, powdery deposits mean water is moving through the masonry and depositing salts. Pass: no white staining. Fail: any efflorescence, which signals internal moisture problems that will accelerate freeze-thaw damage.
Chase, Flashing, and Surroundings
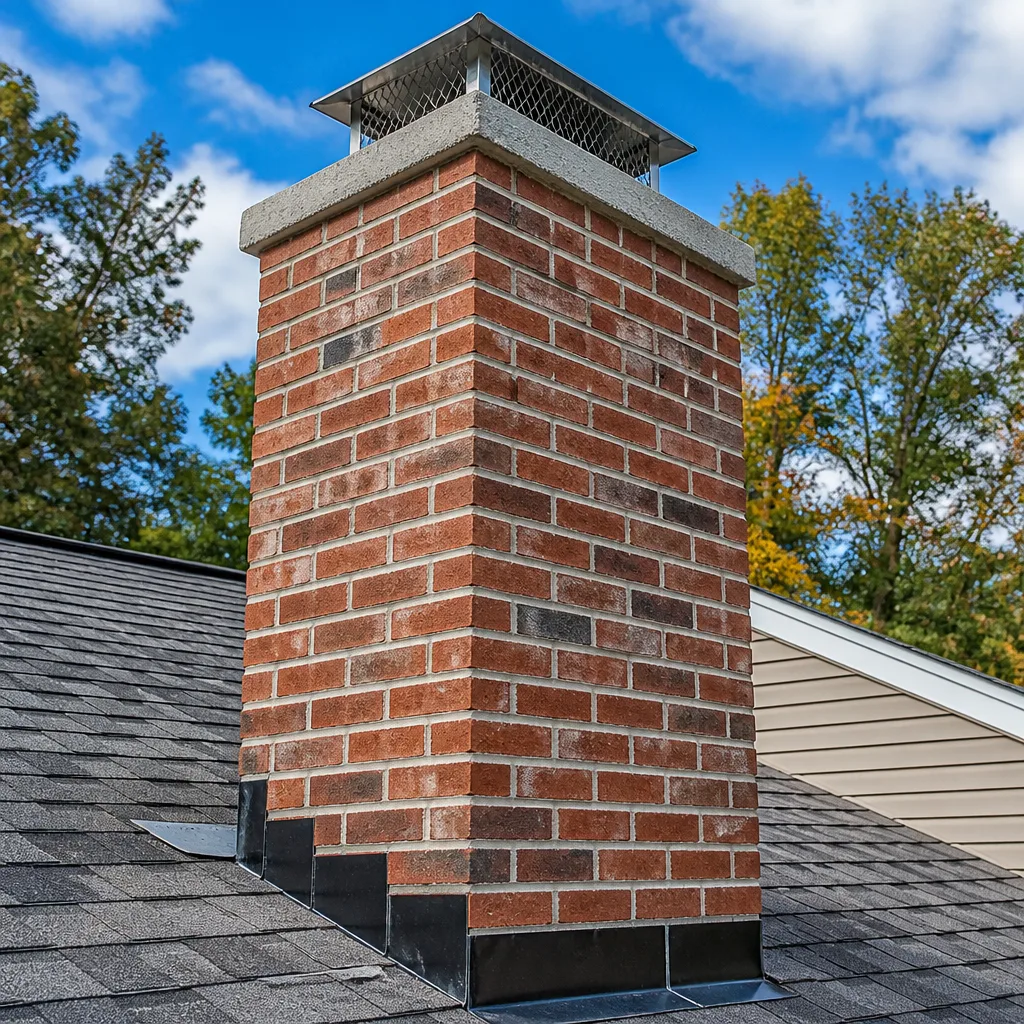
- Inspect chimney flashing where it meets the roof. This is the metal seal between chimney and roof deck. Pass: flat, sealed, no lifted edges, no caulk gaps. Fail: rust, separation, or visible gaps that would admit water.
- Check clearances to combustibles. Look at the visible chimney structure in attic or closet spaces if accessible. Pass: 2-inch minimum clearance to wood framing (more for larger chimneys per NFPA 211). Fail: any wood contact, charring, or pyrolysis (chemical decomposition from long-term heat exposure, which lowers ignition temperature).
Document each check with date, pass/fail, and photos of any failures. This log becomes your maintenance history and your evidence if an insurance claim ever arises.
The Three Conditions That Can’t Wait
Most checklist failures are log-and-schedule items. These three are not. If you find any of the following, stop using the fireplace or appliance until a professional has assessed it. The risk profile exceeds what next-season scheduling can tolerate.
1. Glazed (Stage-Two) Creosote
Creosote forms in three stages. Stage one is flaky, light, and brushes off easily - normal for a well-burning fire. Stage two is shiny, black, and hard as enamel. It forms when wood burns too cool (below 250°F flue gas temperature), when unseasoned wood is used, or when the flue is oversized for the appliance. Stage two creosote is fuel. It ignites at approximately 451°F, and once burning, reaches temperatures over 2,000°F that can crack flue liners and penetrate to surrounding framing.
In Wakefield, we see stage-two creosote most often in homes with older, oversized masonry flues paired with modern, efficient inserts. The insert sends less heat up the flue, so gases condense before exiting. The homeowner sees a “clean” firebox and assumes all is well. The creosote is hidden in the smoke chamber and upper flue, building in layers that mechanical brushing alone won’t remove. Chemical treatment or rotary cleaning is required, and the appliance should not be used until that’s complete.
Owner check: shine your flashlight up the flue from the firebox. Stage-two creosote looks like black glass. If you see it, call before your next fire.
2. Spalling Mortar at the Crown
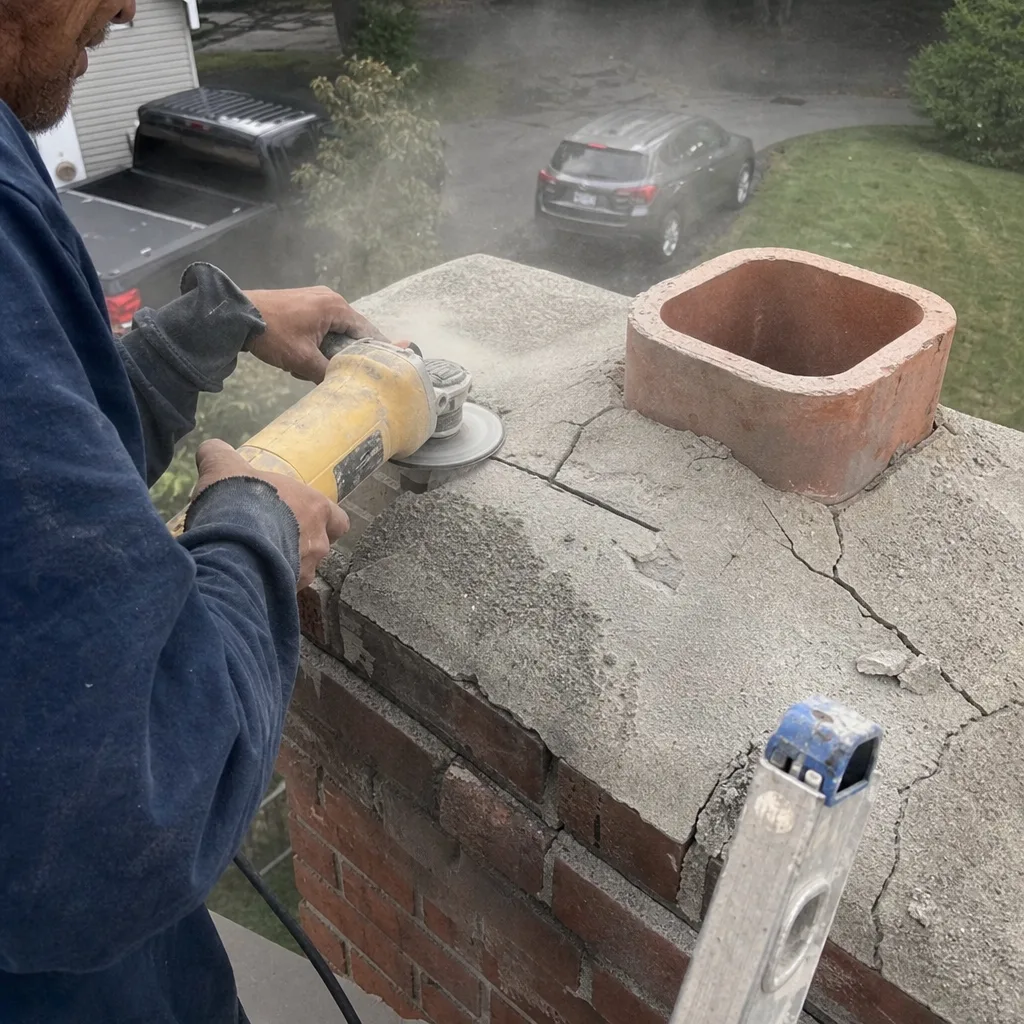
The crown is your chimney’s umbrella. When its mortar or concrete surface deteriorates, water enters the chimney core directly. In Wakefield’s climate, that water freezes, expands, and begins separating the brick courses from the inside. By the time you see exterior brick damage, the internal structure has often been compromised for multiple seasons.
Spalling at the crown is urgent because it accelerates exponentially. A hairline crack in October becomes a gap in January becomes missing mortar by March. Each cycle widens the damage. The repair - crown coating or rebuild - is straightforward when caught early. Left untreated, it progresses to interior liner damage, smoke chamber deterioration, and eventually structural rebuild requirements that run into five figures.
Owner check: binoculars from ground level, look for missing mortar at the crown edge, exposed aggregate in concrete crowns, or any depression that holds water. If water pools, it will penetrate.
3. Stuck or Corroded Damper
A damper that won’t fully open restricts draft, causing smoke spillage and accelerated creosote formation. A damper that won’t fully close wastes heated air year-round and can allow creosote odors and - in worst cases - carbon monoxide into living spaces when the appliance is not in use.
The urgency here is carbon monoxide risk. Wakefield’s older housing stock includes many chimneys with original throat dampers (cast iron, mounted above the firebox) that have corroded after decades of condensation exposure. A corroded damper can appear to close while leaving gaps that allow flue gases to enter the home. This is not a condition you can assess visually with certainty; if the damper operates roughly, incompletely, or with visible rust, professional evaluation is needed before the next use.
Owner check: the light-leak test described in item 5 above. Any visible gap when “closed” is a fail.
How to Check the Smoke Shelf With a Flashlight and Mirror
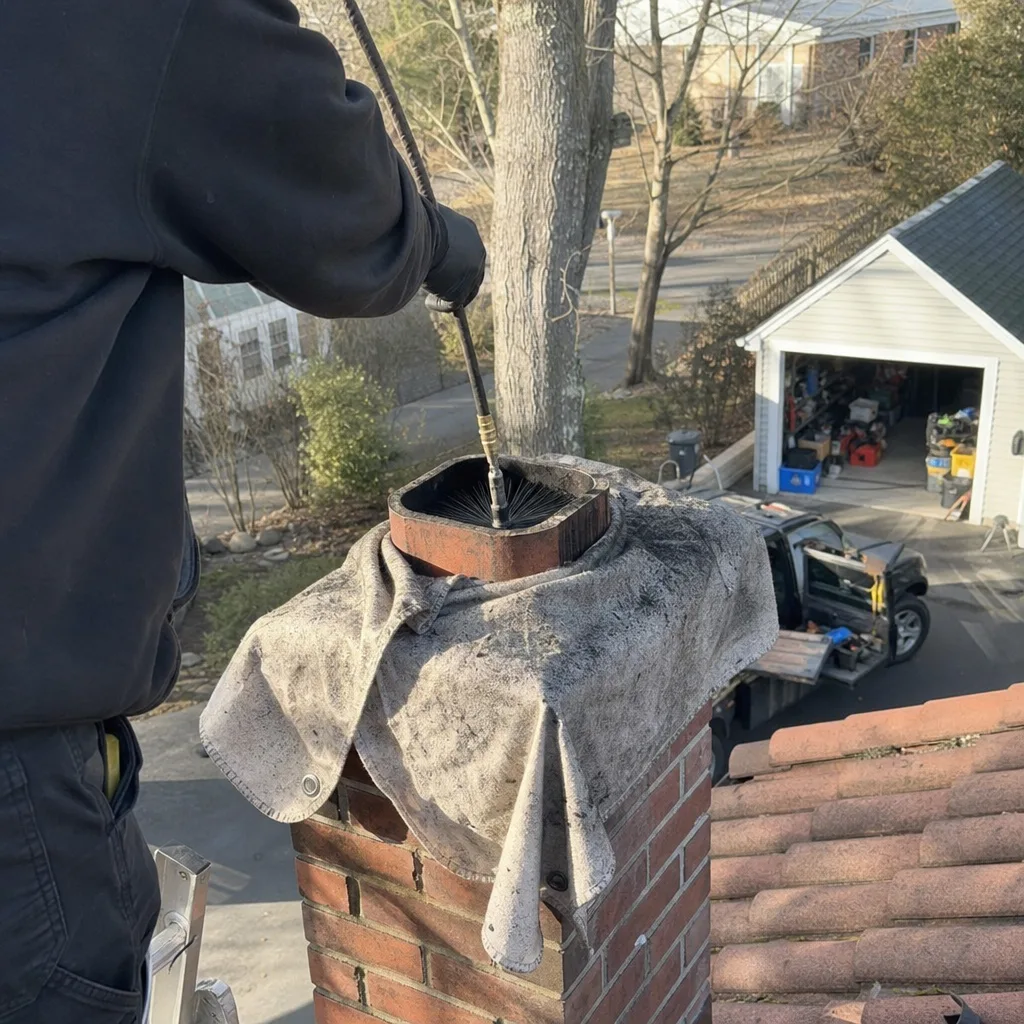
The smoke shelf is the flat horizontal surface behind the damper, at the base of the smoke chamber. Its job is to stop downdrafts and catch debris that falls down the flue. It’s also a collection point for creosote flakes, bird nests, and construction debris from decades past. You can’t see it by looking straight up - the damper throat blocks the view. Here’s how to inspect it without tools.
- Position yourself at the firebox opening, kneeling. Wear a dust mask - old ash and creosote dust are respiratory irritants.
- Hold a flashlight in your dominant hand, arm extended into the firebox, pointing up and back toward the rear wall. The light should illuminate the smoke chamber slope, not the flue directly above.
- Hold a small mirror (a makeup mirror or auto inspection mirror works) in your other hand, angled to reflect the smoke shelf surface back toward your eye. Position the mirror below the damper throat, tilted upward at roughly 45 degrees.
- Move the mirror slowly left to right, watching the reflection. You’re looking for: accumulated debris (leaves, twigs, mortar chunks), thick creosote flakes, or white/grey powdery deposits that indicate water infiltration.
- Photograph anything unusual. Your phone camera held to the mirror will capture usable documentation.
What you’ll typically find in a Wakefield home that hasn’t been swept in 2+ years: a thin layer of grey ash (normal), scattered creosote flakes (schedule a sweep), or a substantial accumulation that partially blocks the shelf (urgent - draft restriction and fire risk). If you see a nest or animal debris, do not attempt removal - nesting materials can be compacted and flammable, and animals may be present. Call for professional extraction with proper protective equipment.
The smoke shelf check is the single most informative two minutes in this entire checklist. Most homeowners have never looked at this surface. The previous owner likely didn’t either. What you find there explains a lot about your chimney’s actual condition.
What Belongs on Your Checklist vs. What Needs a Camera Scan
This guide is about owner-observable conditions. But there’s a hard boundary between what a homeowner can assess and what requires NFPA 211 Level 2 inspection equipment. Understanding that boundary keeps you safe and prevents false confidence.
Owner-appropriate assessment: Everything in the 12-point checklist above. These are surfaces you can see, mechanisms you can operate, and conditions you can photograph. Your judgment is sufficient for pass/fail.
Requires camera scan (NFPA 211 Level 2):
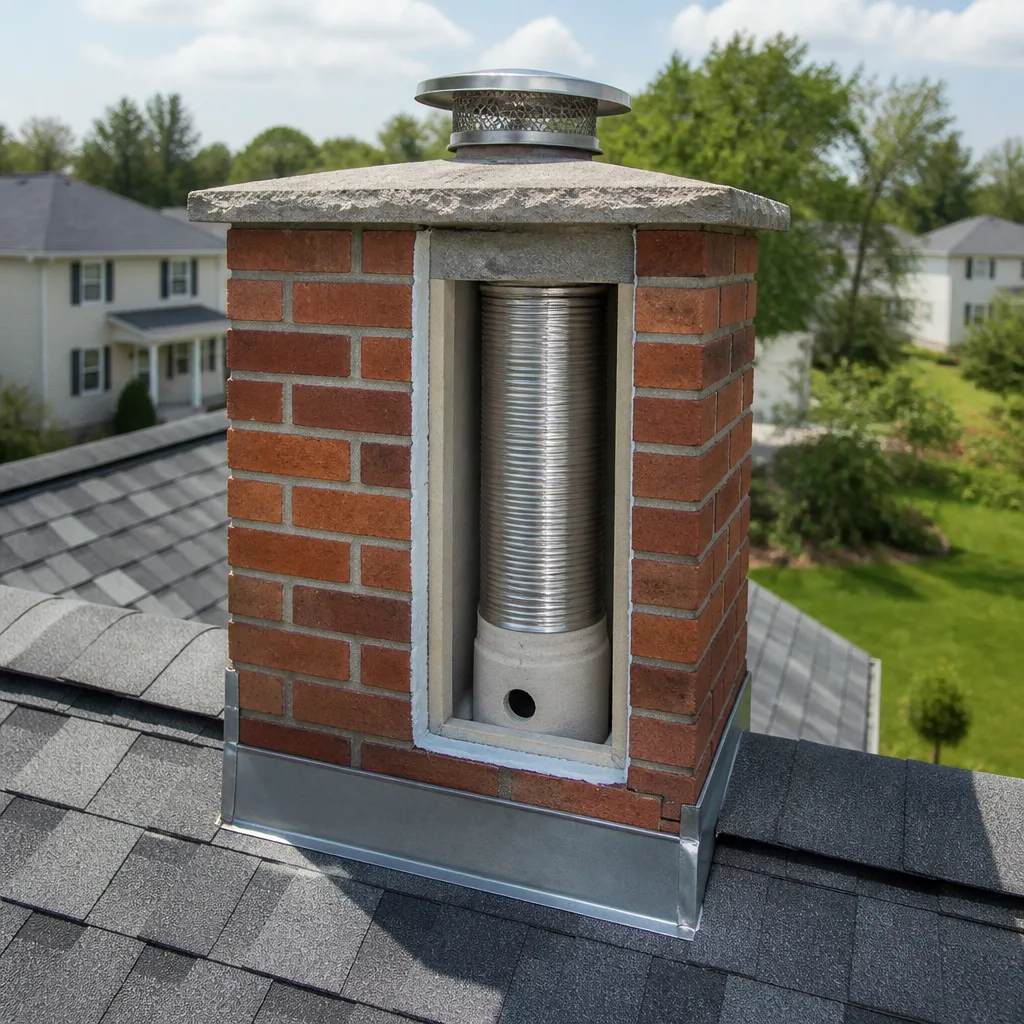
- Flue liner condition. Clay tile liners crack from thermal shock or settlement; stainless steel liners corrode at joints. Neither is visible from the firebox without a camera. A cracked liner allows heat and combustion gases to reach combustible framing - the leading cause of chimney-related house fires. We’ve found cracked liners in Wakefield homes where the owner reported “no problems” for years. The cracks were above the smoke chamber, invisible without camera documentation.
- Smoke chamber parging integrity. While you can see the smoke chamber walls from below, you cannot assess whether the parging (the smooth mortar coating) is properly bonded or merely cosmetic. Camera inspection from above reveals hollow areas where parging has separated - a common finding in pre-1960 Wakefield construction where original parging was applied over rough corbelled brick.
- Clearance to combustibles in concealed spaces. The 2-inch NFPA minimum sounds simple, but measuring it requires access to framed chases, attic penetrations, and sometimes wall cavities. Camera and borescope equipment, plus knowledge of Wakefield’s varied construction eras, is required for reliable assessment.
- Creosote class and thickness throughout the flue. You can spot stage-two glaze at the firebox. You cannot determine whether that glaze extends the full flue height, or whether stage-three (hardened, tar-like) creosote is present above. Stage three requires aggressive mechanical removal and sometimes chemical treatment - a camera assessment determines the method.
- Crown interior condition. The crown may look intact from outside while water has already penetrated to the flue liner interface. Camera inspection from the top, combined with moisture meter readings, reveals this hidden damage.
At Level Two Chimney Wakefield home, our standard sweep includes camera-scan documentation under Haven Standard Clause 4 - the practice we established in 2009, before regulators or insurers required it. Every customer receives the photo record, not as an upsell, but as the baseline for understanding what was actually found. If your owner checklist reveals any concerns, or if it’s been more than a year since your last professional service, that camera documentation is the logical next step.
Wakefield’s Heating Calendar: When to Check and Why
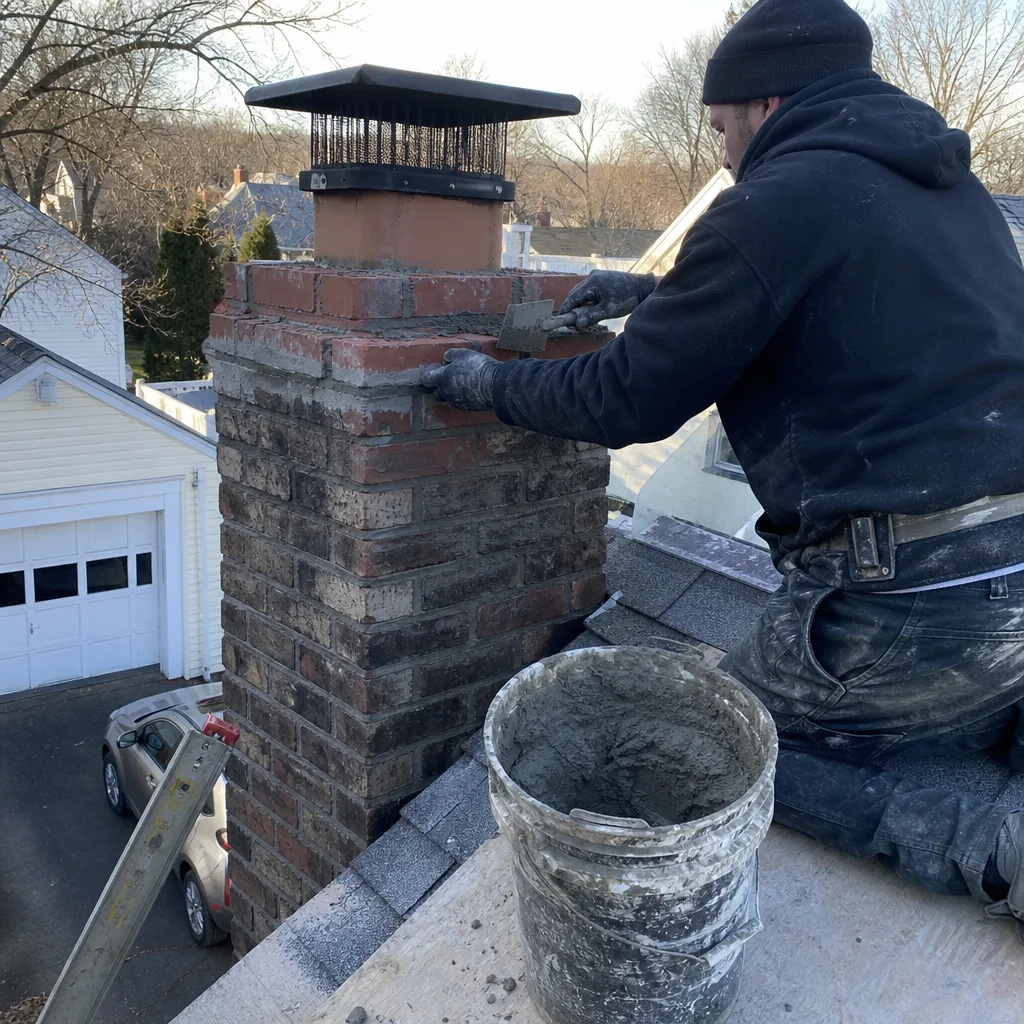
Timing your checklist to Wakefield’s actual heating patterns, rather than an arbitrary calendar date, catches problems when they’re smallest and scheduling is most flexible.
October: Pre-Season Check
Run the full 12-point checklist by mid-October, before the first sustained heating demand. Wakefield’s first frost typically arrives in early October, and by late October most households have lit the first fire or started the furnace. The pre-season check gives you two to three weeks to schedule any needed service before peak demand hits.
Peak demand in Wakefield runs from the week before Thanksgiving through mid-January. Sweeps book solid, and the companies that don’t maintain camera documentation standards often rush through appointments to maximize volume. Getting ahead of this window means your service gets the time it deserves, and you’re not choosing between a cold house and an unvetted technician.
January: Mid-Season Spot Check
After six to eight weeks of regular use, do a abbreviated three-point check: damper operation, firebox creosote staining, and exterior cap condition. This catches the problems that develop under load - a damper that was stiff in October may be stuck in January, or a cap that was secure may have loosened in December wind.
April: Post-Season Assessment
Run the full 12-point checklist after your last fire, while conditions are fresh in memory. Document any changes from October. This is also the ideal time for professional service if you deferred it - sweeps have more availability, and any repairs can be scheduled before the next heating season without urgency pricing.
The April check has a specific Wakefield relevance: our March and April weather includes heavy rain and the most damaging freeze-thaw cycles of the year. Crown and flashing damage that developed over winter becomes visible in April as mortar displacement or interior water staining. Catching it then means repairs cure properly in warming weather, rather than attempting cold-weather masonry work in November.
Special Case: Real Estate Transactions
Wakefield’s housing market includes significant turnover in the Greenwood, Montrose, and West Side neighborhoods. If you’re buying, insist on a Level 2 inspection with camera documentation as a contingency - not a Level 1 “flashlight look,” which is what most home inspectors provide. If you’re selling, having your own documentation from Chimney Cleaning & Sweep in Wakefield prevents last-minute negotiation surprises. We’ve seen $8,000 liner replacements become deal-killers when discovered during buyer inspection, versus $200 documentation that satisfies all parties when presented upfront.
Common Mistakes to Avoid
- Assuming a gas fireplace needs no inspection. Gas appliances produce corrosive condensation that deteriorates liners, and the burner assembly requires cleaning for safe operation. Wakefield’s many converted oil-to-gas systems often have mismatched flue sizes that only camera inspection reveals.
- Using the fireplace when the damper is “mostly” open. A partially open damper creates turbulent draft that spills smoke and deposits creosote in the smoke chamber. If it doesn’t open fully, don’t use it until repaired.
- Ignoring efflorescence as “just cosmetic.” Those white deposits mean water is actively moving through your masonry. In Wakefield’s freeze-thaw climate, that water is doing structural damage every cycle. Address the source before repointing, or the efflorescence returns.
- Sweeping the firebox but not the flue. A clean firebox with a dirty flue is like washing your car’s hood but not checking the brakes. The flue is where fires start and where carbon monoxide leaks develop. Owner cleaning of the firebox is fine; flue cleaning requires proper equipment and access.
- Scheduling based on “when we smell something.” Creosote odor in summer means the damper is leaking and creosote is off-gassing into your living space. By the time you smell it, the condition has existed for months. Use the calendar, not your nose.
- Hiring based on lowest price without documentation requirements. A sweep that doesn’t provide photos, written scope, and written warranty leaves you with no evidence of what was or wasn’t done. Under the Haven Standard, we deliver all three before work starts - Clause 1 (written price, scope, and warranty) and Clause 4 (documented photo record). Anything less is a gamble.
- Deferring crown repair because “it’s just the top.” The crown is the most exposed, most weather-beaten surface of your chimney. Its failure cascades downward: liner damage, smoke chamber deterioration, interior water staining, and eventually structural compromise. Crown maintenance is the highest-return preventive investment in chimney care.
When to Call a Professional
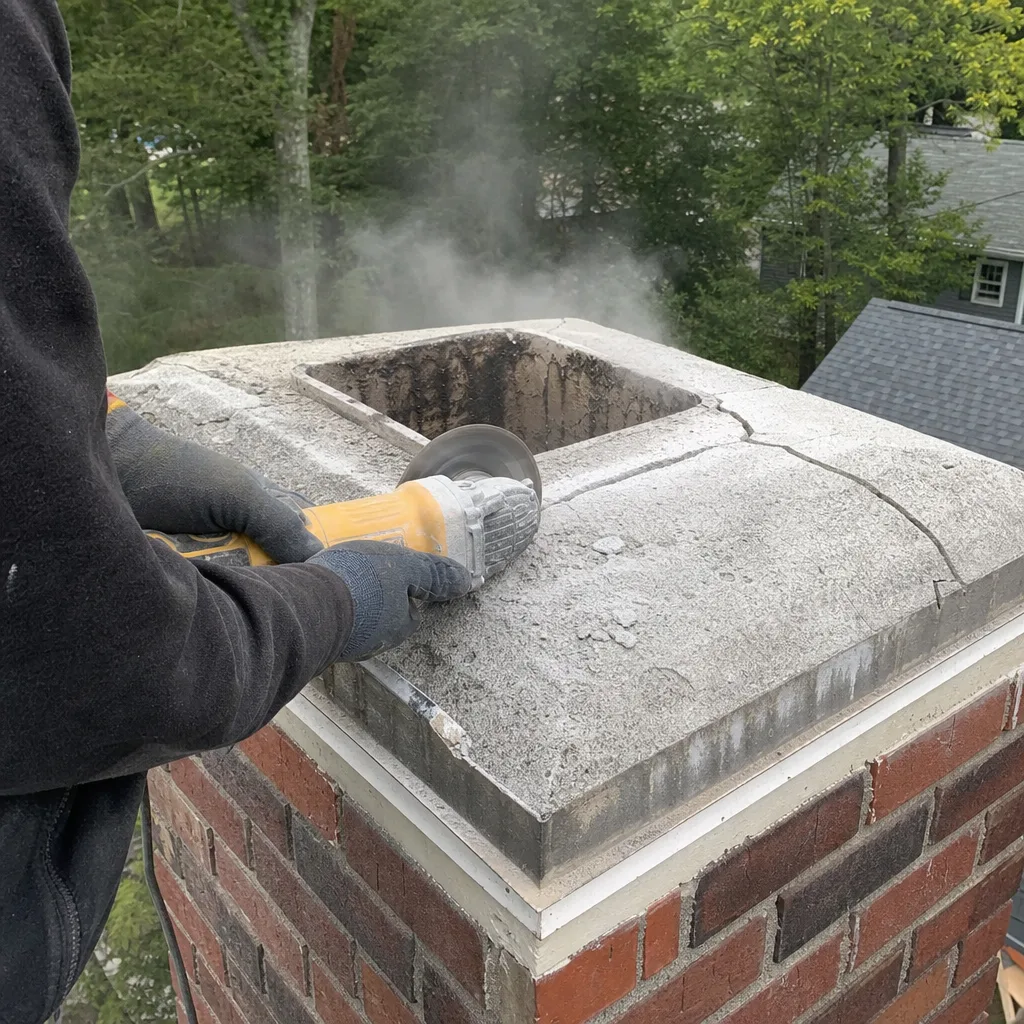
Call for professional assessment when: any of the three urgent conditions (stage-two creosote, crown spalling, stuck damper) is present; your checklist reveals changes from the previous inspection; it’s been more than 12 months since camera-documented service; you’re buying or selling the home; or you’ve changed fuel types or appliances.
Level Two Chimney Wakefield offers free estimates in Wakefield - call (978) 861-1012. Every estimate includes a written price, written scope, and written warranty before any work begins, per Haven Standard Clause 1. Our background-checked, uniformed technicians arrive on schedule with license verification, and every job receives camera-scan documentation under Clause 4. We’ve completed more than 38,000 inspections and cleanings since 2009, and we provide free second opinions on any competitor’s written estimate.
Materials for repairs and installations are sourced through our buying network from Olympia Chimney, Famco, and Copperfield, among others, specifically to keep customer prices honest without compromising on specification. The 365-Day Done Right Promise backs every job: if it’s not done right, we make it right.
Frequently Asked Questions
A standard chimney sweep and Level 2 inspection in Wakefield typically runs between $225 and $375, depending on flue accessibility, creosote accumulation level, and whether the appliance is a straightforward open fireplace or a wood-burning insert requiring removal and reinstallation. Level Two Chimney Wakefield delivers a written price before any work starts - no exceptions, no “call for a quote.” Call (978) 861-1012 for an exact quote; estimates are free.
NFPA 211 recommends annual inspection for all chimney systems, and cleaning as needed based on creosote accumulation. In practice, Wakefield homeowners burning seasoned hardwood 3-4 times weekly typically need sweeping annually; occasional users may extend to every 18-24 months with clean camera documentation. Gas and oil systems require annual inspection but less frequent cleaning. The owner checklist in this guide - combined with The Complete Guide to Chimney Cleaning in Wakefield - helps you determine whether your schedule matches your actual use.
You need a new liner when the existing one is damaged, improperly sized for the appliance, or absent entirely - which we find in roughly 30% of pre-1980 Wakefield homes. We never recommend liner replacement without camera evidence you can see for yourself, and we’ll tell you plainly when a damaged liner can be monitored rather than immediately replaced. Bring us any competitor’s written estimate for a free second opinion.
The most common consequences: chimney fire from ignited creosote (over 25,000 annually in the U.S.), carbon monoxide intrusion from blocked or damaged flues, and progressive water damage that turns a $400 crown repair into a $12,000 rebuild. In Wakefield’s freeze-thaw climate, water damage accelerates faster than in milder regions. The owner checklist catches early warning signs before these outcomes develop.
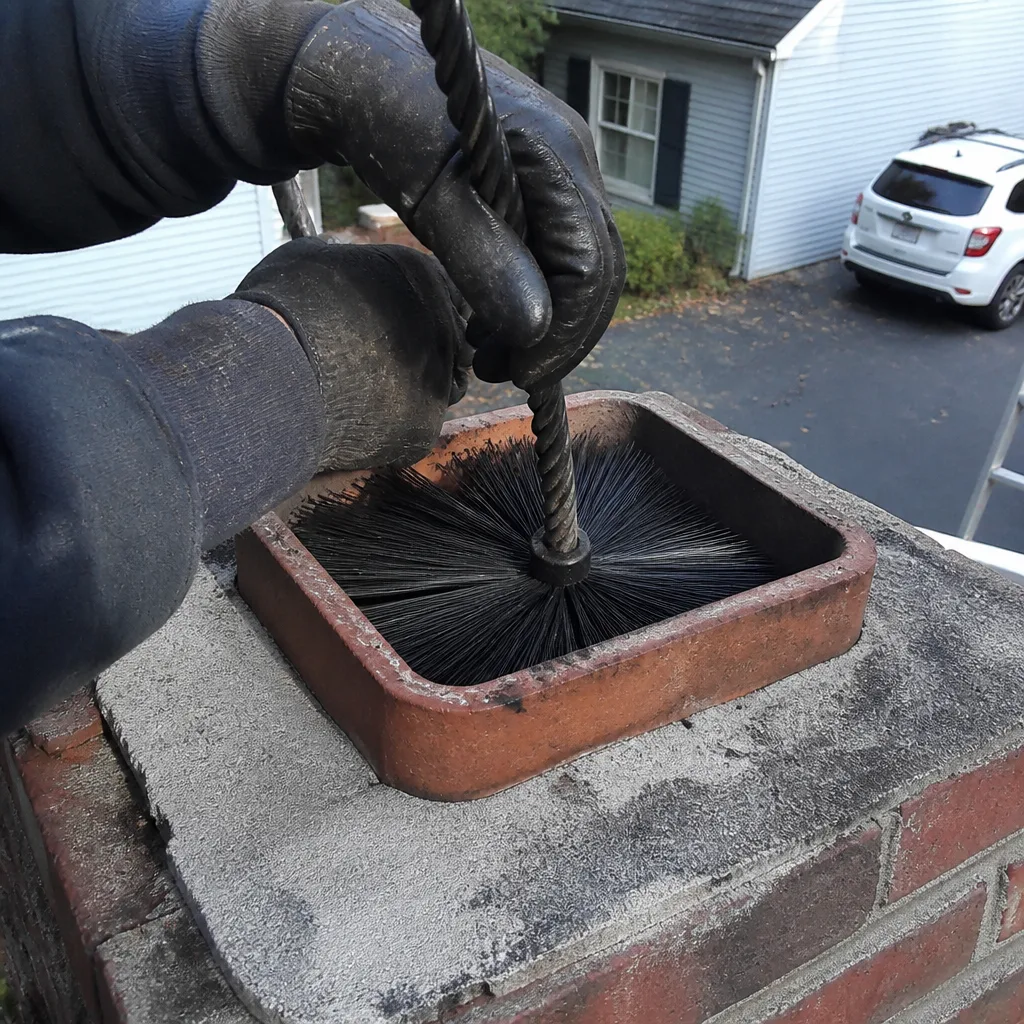
Firebox ash removal and minor firebrick repair are owner-appropriate. Flue sweeping requires proper brushes, rods, and vacuum equipment, plus the ability to assess what the brush encounters. More importantly, without camera documentation, you cannot verify that the flue is actually clean or that hidden damage (cracked tiles, separated liner joints) isn’t present. We recommend professional service with documented results over DIY flue cleaning.
Level 1 is a visual inspection of accessible portions - what you can see without tools or special access. Level 2 includes camera scan of the full flue length, inspection of accessible attics and crawl spaces, and documentation of findings. For real estate transactions, appliance changes, or suspected damage, NFPA 211 requires Level 2. Level Two Chimney Wakefield performs Level 2 as our standard on every visit - we don’t offer the lesser inspection.
Summer chimney odor is creosote off-gassing through a leaking damper, combined with humid air drawn down the flue by stack effect reversal (warm air rising in the house pulls air down the chimney). The solution is two-part: seal the damper fully, or install a top-sealing damper if the throat damper won’t seal; and remove the creosote source through professional sweeping. Air fresheners mask the symptom; they don’t address the cause.
The Bottom Line
A useful chimney checklist isn’t a calendar reminder - it’s a structured observation protocol with clear pass/fail criteria and documented results. The twelve points in this guide cover what Wakefield homeowners can assess themselves: firebox integrity, damper function, smoke chamber condition, exterior crown and cap status, and critical clearances. The three urgent conditions - stage-two creosote, crown spalling, and damper failure - require immediate professional response, not scheduling convenience. Everything else builds your maintenance history and informs your next professional service.
Run the checklist in October and April, aligned with Wakefield’s heating calendar. Pair your owner observations with camera-documented professional service at appropriate intervals. And when you do call for that service, demand what the Haven Standard requires: written price, written scope, written warranty, and documented photo record - before anyone starts work.
Written by Corrine Halstead, Owner at Level Two Chimney Wakefield, serving Wakefield since 2009.